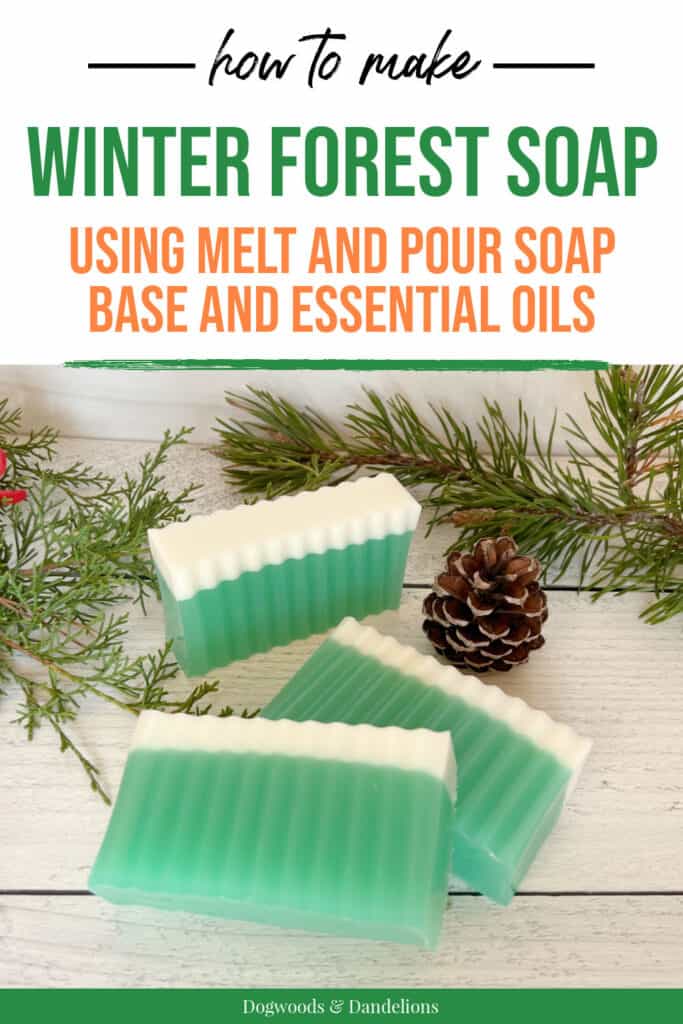
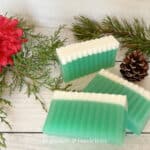
Winter Forest Soap
Inside: Make Winter Forest soap that smells just like a pine forest in the winter using a melt and pour soap base and essential oils.
I love giving homemade soap as gifts. Handmade soap is a welcome gift for almost anyone and since it is consumable, it doesn’t create clutter.
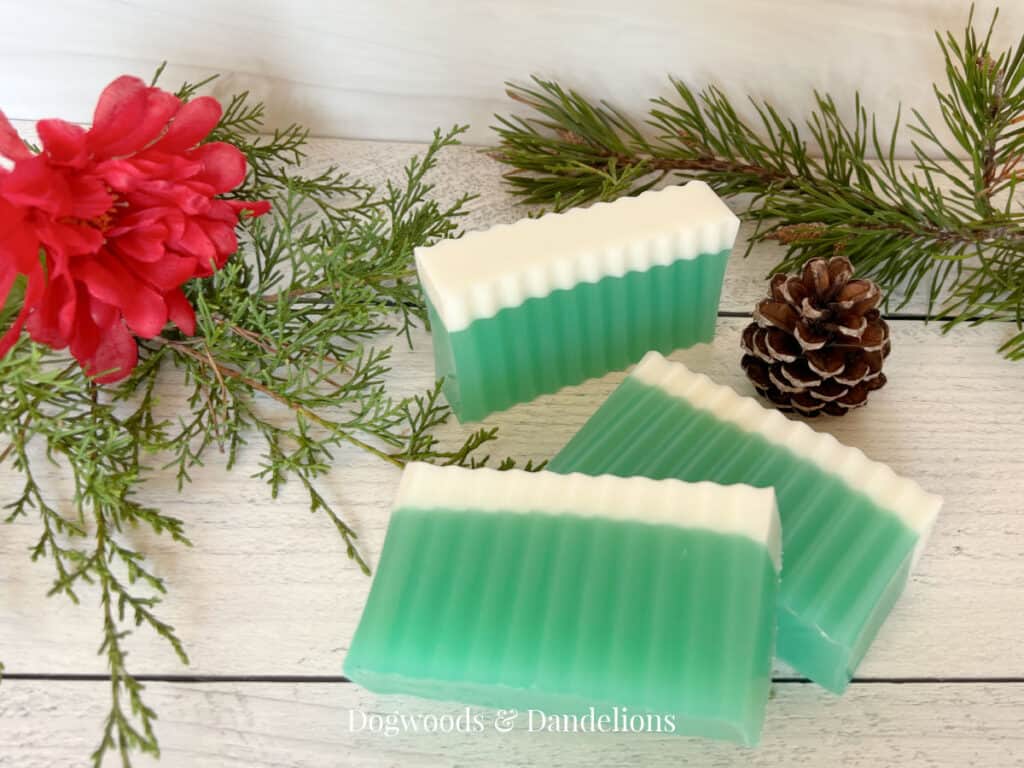
You can make a special soap for each person or you can make batches of soap that will work for anyone. This Winter Forest Soap is a great gift idea for teachers, would make a lovely hostess gift, and would be a great addition to a spa gift set with lip balm and a lotion bar.
With notes of cedar and pine or fir, it works as a Christmas gift for almost anyone. The scent is neither too masculine nor feminine so it would appeal to both men and women.
Affiliate Disclosure: Please note that some of the links in this article may be affiliate links and I may receive a small commission if you purchase something through a link. It will not change your cost. As an Amazon Associate, I earn from qualifying purchases. For more information, see my disclosures page.)
Tools You Need to Make Winter Forest Soap
You don’t need many tools to make homemade soaps. Many of these items you may already have at home. The others can be ordered online or purchased from your local craft store.
Something to Melt the Soap In
First, you will need something to melt the soap base in. I like using a Pyrex measuring cup because it has a spout that makes pouring the soap easier.
However, any glass container, like a mason jar, that is safe for microwave use will work. While researching containers to melt the soap in, I discovered this glass measuring cup that would be great for melting and pouring soap.
For this recipe, I recommend using a 4-cup glass container for the green layer. I was able to squeeze it all in a 2-cup measure, but it was a close fit until the cubes melted. You will need 2 glass cups or you will have to wash one quickly between batches of soap.
If you prefer not to use the microwave to melt your soap base, you will need a glass or metal container and a pot for a makeshift double boiler.
Isopropyl Alcohol in a Spray Bottle
For a smooth finish on your soap, you will want to have on hand a small amount of isopropyl alcohol (also called rubbing alcohol) in a spray bottle. The alcohol helps to remove air bubbles after pouring the soap into the molds.
Isopropyl alcohol is also needed to ensure the soap layers stick together and don’t separate when you cut the soap.
An Old Spoon, Cutting Board, and Knife
To stir your soap base as you melt it, you need an old spoon. If you don’t have an old stainless steel spoon around, you can purchase inexpensive ones at your local big box store.
Alternatively, you can use popsicle sticks to stir your soap mixture. You also need a cutting board and a knife or a bench scrape to cut the soap into cubes.
Supplies for Making Soap
To make the soap, you’ll need 2 types of melt and pour soap base – a white base and a clear base. I’ve linked to some of my favorites in the supply list below.
To make the soap resemble a tree covered with snow, you will also need a green soap colorant.
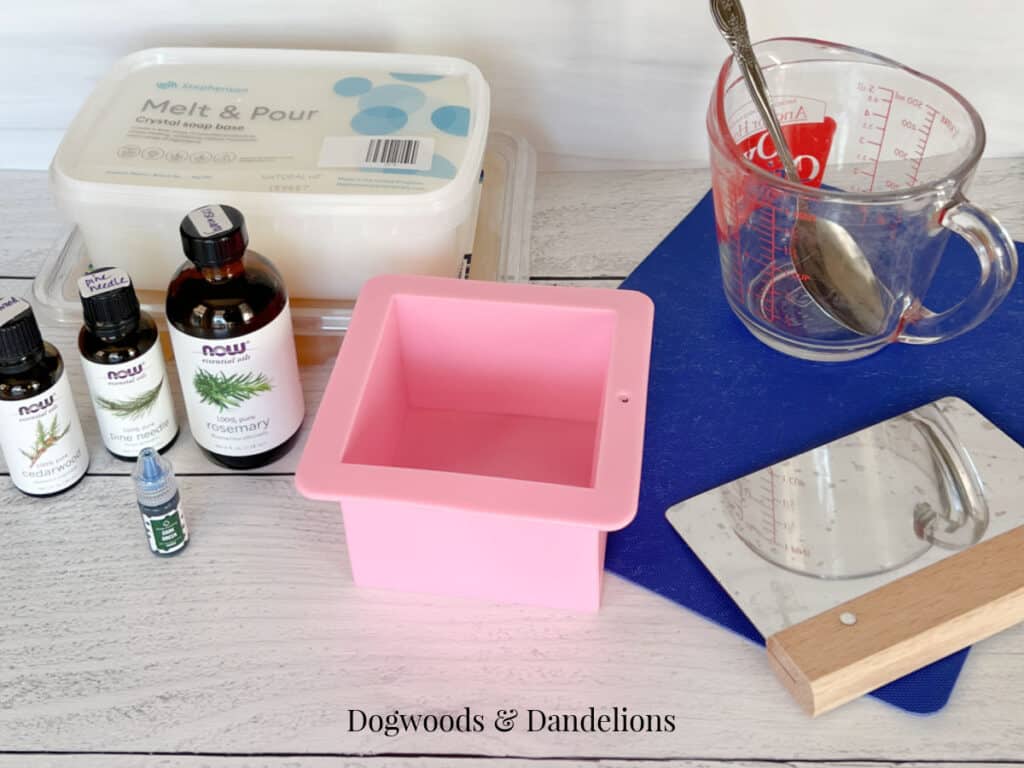
And to scent your soap, you will need the following essential oils – cedarwood, fir needle (or pine needle), frankincense, and rosemary. Alternatively, if you don’t already have these oils and don’t want to purchase them individually, you can purchase the Christmas Tree Blend directly from Plant Therapy or on Amazon.
Let’s Make Homemade Soap
Now that you’ve gathered your supplies, let’s make soap. You can find a printable copy of the instructions at the bottom of the post.
Supply List
- glass container
- 4 oz. white soap base
- 12 oz. clear (transparent) soap base
- an old spoon
- cutting board
- knife
- isopropyl alcohol
- square silicone soap mold
- green soap colorant – I’m using the dark green from this set.
- cedarwood essential oil
- fir needle essential oil or pine needle essential oil
- frankincense essential oil
- rosemary essential oil
How to Make Winter Forest Soap
Making the Snow (White Layer)
The first step to making soap is to melt the pre-made soap base. I find that the easiest way to melt the base is to use the microwave. If you don’t want to use the microwave, you will need a small pot that will hold your Pyrex measuring cup or you can use a double boiler.
Cut 4 ounces of white melt and pour soap base into 1/2″ cubes. Place the cubes into the Pyrex measuring cup.
Microwave the cubes for 30 seconds. Remove from the microwave and stir. If the soap is not fully melted, microwave for another 10-15. Stir well.
Caution: Do NOT overheat the soap base. You can always microwave for 10-15 seconds more if needed to melt the remaining bits of soap.
Always stir the soap gently. Stirring vigorously can cause unwanted air bubbles. While this doesn’t affect the soap’s cleansing properties, the bubbles can be unsightly in your finished soap.
Once the melt and pour base is melted, add
- 9 drops of cedarwood essential oil
- 9 drops of fir needle or pine needle essential oil
- 6 drops of rosemary essential oil
- 3 drops of frankincense essential oil.
Stir well to distribute the essential oils. Place your soap mold on a flat surface where it can stay for at least 8 hours until the soap cools. Gently pour the soap base into the mold.
Immediately spray the soap with isopropyl alcohol. This will remove any air bubbles and make for a more professional-looking soap.
Making the Tree (Green Layer)
Working quickly, cut 12 ounces of clear melt and pour soap base into 1/2″ cubes. Place the cubes into the Pyrex measuring cup.
Microwave the cubes for 30 seconds. Remove from the microwave and stir. The soap is most likely not fully melted, so microwave for another 10-15. Stir well.
Microwave for 10-15 seconds more if needed to melt the remaining bits of soap.
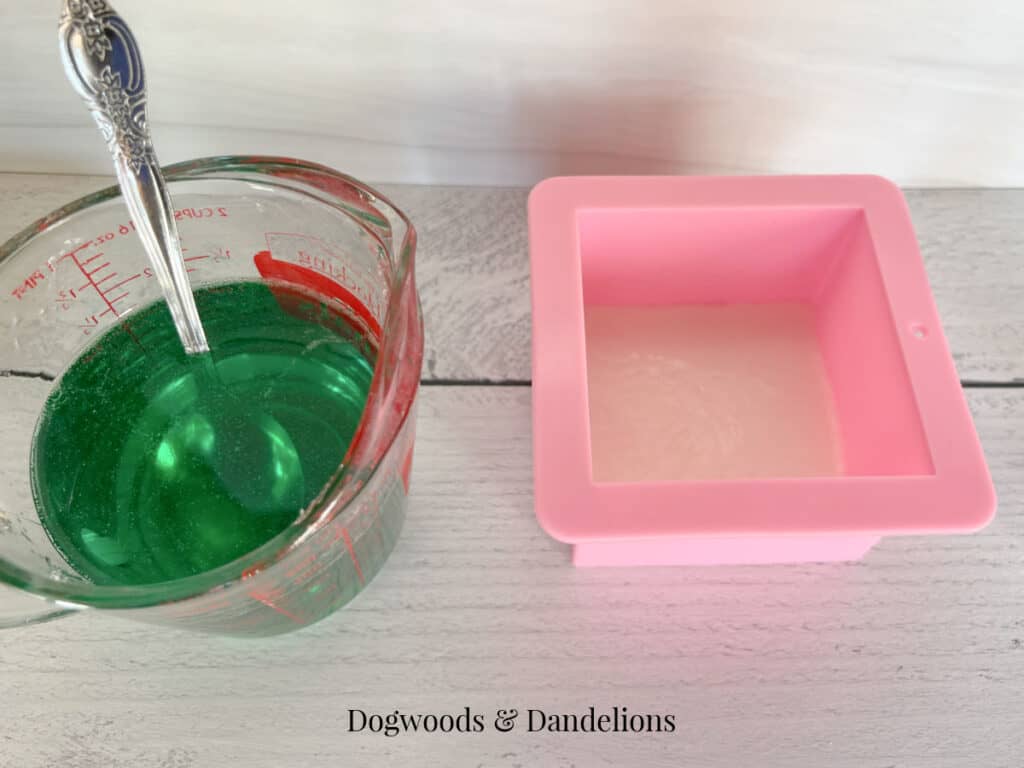
Once the clear melt and pour base is melted, add
- 3 drops of green liquid soap colorant
- 27 drops of cedarwood essential oil
- 27 drops of fir needle or pine needle essential oil
- 18 drops of rosemary essential oil
- 9 drops of frankincense essential oil.
Stir well to distribute the colorant and the essential oils. This amount of essential oils makes a mild-scented soap. If you would like a stronger scented soap, you can adjust the amount of essential oils using this calculator.
Before pouring in the green melt and pour base, check to be sure a skin has formed on top of the white layer. If not, allow the white base to set up a bit longer.
However, you don’t want the white layer to fully set, because the layers won’t stick together as well and may separate.
When you have a skin on the white layer, spray the white layer in the mold with isopropyl alcohol. Gently pour the soap base into the mold.
Immediately spray the soap with the isopropyl alcohol again. Allow the soap to cool for at least 8 hours to ensure it is fully set.
Unmolding the Soap
When fully cool, remove the soap by turning the mold upside down and pressing gently on the mold until the soap pops out.
If the soap seems stubborn, you can put the soap in the freezer for 15 minutes to firm it up a bit. Then try again to release the soap.
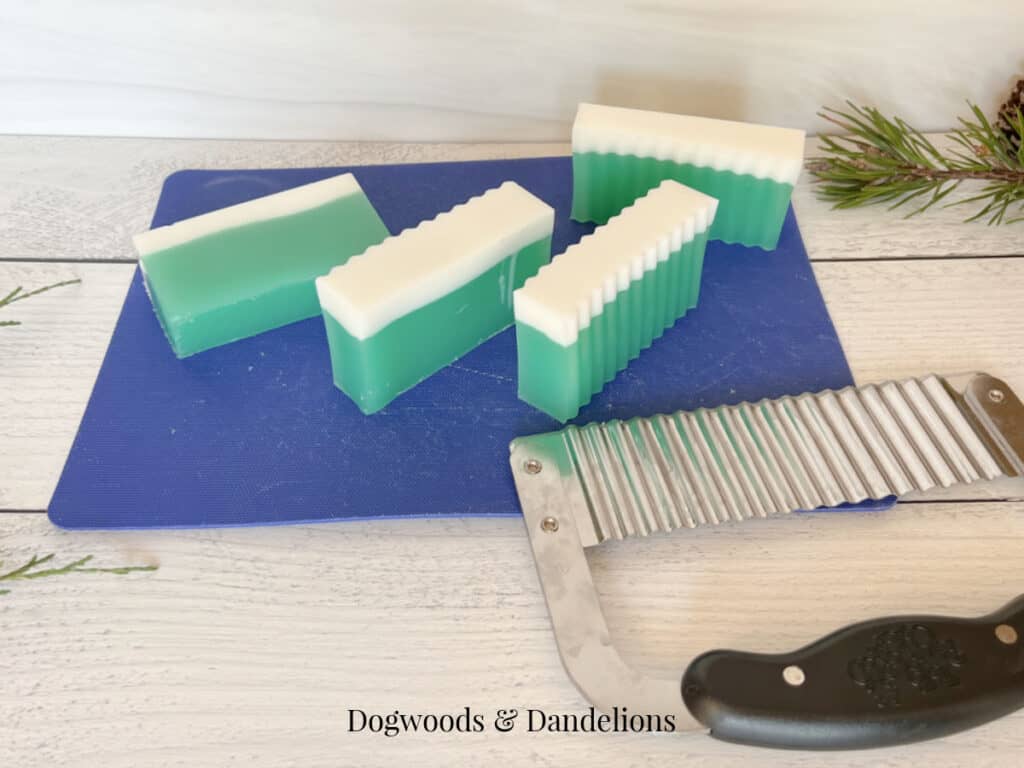
Once you have removed the soap from the mold, you will cut the soap into 4 bars. I like to turn the soap on its side before cutting.
I also take a ruler and measure to ensure each bar is the same size. You can use a toothpick to gently mark where to cut the soap.
Wrapping the Soap
Once your soaps are out of the mold, they should be wrapped with plastic wrap to prevent “glycerin dew.” Glycerin dew is what happens when the natural glycerin in the soap migrates to the outside of the bars. It happens more frequently in humid climates. (However, the soap is still perfectly fine to use.)
Gifting Your Homemade Soap
Now your winter forest soap is ready to gift. I love to keep a few extra homemade soaps on hand in case I need a last-minute gift for someone. You can just tie a ribbon around the soap and attach a gift tag and it’s ready to go.
I also love to wrap my soap in brown craft paper and tie a pretty ribbon. To continue with the winter forest theme, you could attach a sprig of cedar or pine to the top. Enjoy your beautiful soap.
Other Soap-Making Posts
- How to Use a Melt and Pour Soap Base – includes a recipe for Lime and Cedarwood Soap
- Secrets to Perfect Layers in Your Melt and Pour Soap
- Coffee Exfoliating Soap
- Homemade Soap Gifts
- How to Make Decorative Soaps

Meet Julie
I’m a farm girl born and bred in North Carolina. I’ve been growing a vegetable garden for over 20 years (and helping my Mom grow hers even longer). I’ve been raising chickens in my bathtub and backyard for 12+ years. I believe that homegrown food can be made simple. Let’s get started.
Winter Forest Soap
Equipment
- glass container
- an old spoon
- cutting board
- knife
- soap mold
Ingredients
- 3 oz white soap base
- 12 oz clear soap base
- isopropyl alcohol
- green soap colorant
- cedarwood essential oil
- pine or fir needle essential oil
- rosemary essential oil
- frankencense essential oil
Instructions
For the Snow (White Layer)
- Cut 4 ounces of white melt and pour soap base into 1/2″ cubes. Place the cubes into the Pyrex measuring cup.Microwave the cubes for 30 seconds. Remove from the microwave and stir. If the soap is not fully melted, microwave for another 10-15. Stir well.
- Add 9 drops of cedarwood essential oil, 9 drops of fir needle or pine needle essential oil, 6 drops of rosemary essential oil, and 3 drops of frankincense essential oil. Stir well.
- Gently pour the soap base into the mold. Immediately spray the soap with isopropyl alcohol.
For the Tree (Green Layer)
- Working quickly, cut 12 ounces of clear melt and pour soap base into 1/2″ cubes. Place the cubes into the Pyrex measuring cup.Microwave the cubes for 30 seconds. Remove from the microwave and stir. Microwave for another 10-15. Stir well.Microwave for 10-15 seconds more if needed to melt the remaining bits of soap.
- Add 3 drops of green liquid soap colorant, 27 drops of cedarwood essential oil, 27 drops of fir needle or pine needle essential oil, 18 drops of rosemary essential oil, and 9 drops of frankincense essential oil.
- Stir well to distribute the colorant and the essential oils. Check to be sure a skin has formed on top of the white layer. If not, allow the white base to set up a bit longer.
- When you have a skin on the white layer, spray the white layer in the mold with isopropyl alcohol. Gently pour the soap base into the mold. Immediately spray the soap with the isopropyl alcohol again.
- Allow the soap to cool for at least 8 hours to ensure it is fully set. Remove the soap by turning the mold upside down and pressing gently on the mold until the soap pops out.
- Cut the soap into 4 bars. Wrap each soap in plastic wrap.