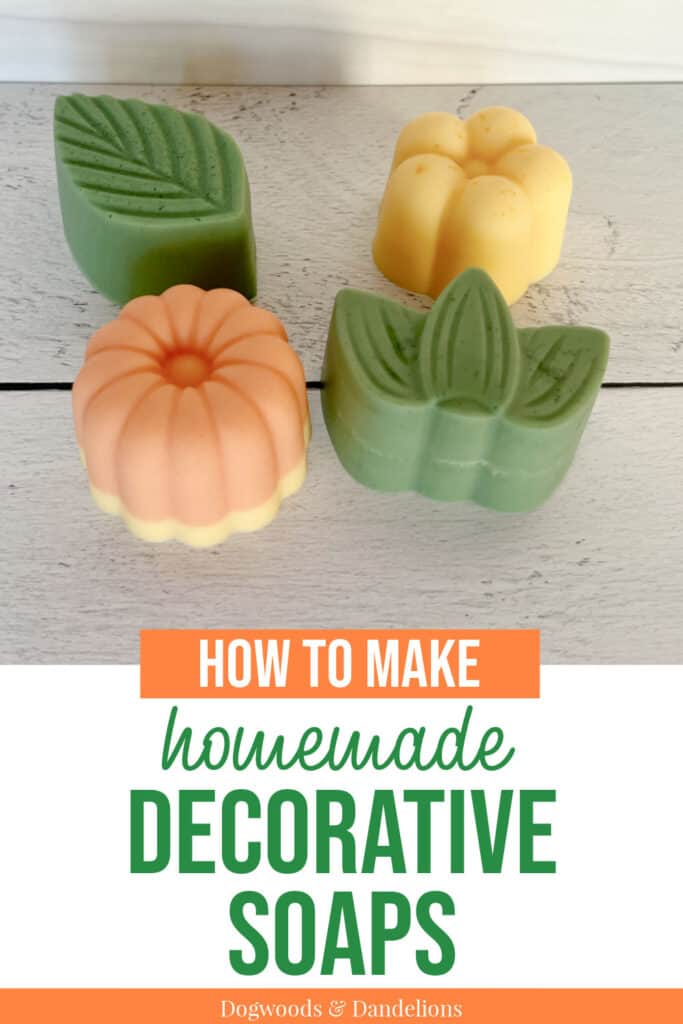
How to Make Decorative Soaps
Inside: Learn how to make decorative soaps using a melt and pour soap base that are the perfect gift for any holiday.
Making decorative soaps is a fun project to do. While there are many different ways to make cute bars of soap, I’m going to explain how to make homemade soap using a melt and pour soap base. You can easily make beautiful homemade soaps in under an hour using this method.
And handmade soaps are ideal for gift-giving. You can make small batches of soap, customizing each batch to the recipient. This is a creative way to make many unique gifts in a short amount of time. I’ve been known to make individual soap bars for various family members for the holidays.
How does melt and pour soap differ from cold process soap and hot process soap making? Melt and pour soap has already gone through the saponification process so you don’t have to work with a lye solution.
The chemical reaction to turn fats and lye into soap has already occurred in melt and pour soap. This means the melt and pour soap-making method is a much safer option, especially if you are making soap around small children. Keep in mind, however, that the soap base will still be hot, so it is a good idea to keep kids away from any soap making endeavor.
Using a soap base is also the easiest way for beginners to get started making homemade soap. It is easy to work with and if you mess up, you can remelt the base and start over.
Affiliate Disclosure: Please note that some of the links in this article may be affiliate links and I may receive a small commission if you purchase something through a link. It will not change your cost. As an Amazon Associate, I earn from qualifying purchases. For more information, see my disclosures page.)
Supplies You Need to Make Decorative Soaps
You don’t need many supplies to make decorative soaps. Many of these items you may already have at home. The others can be ordered online or purchased from your local craft store.
Something to Melt the Soap In
First, you will need something to melt the soap base in. I like using a Pyrex container because it has a spout that makes pouring the soap easier. However, any glass container, like a mason jar, that is safe for microwave use will work.
If you prefer not to use the microwave to melt your soap base, you will need a glass or metal container and a pot for a makeshift double boiler.
Isopropyl Alcohol in a Spray Bottle
For a smooth finish on your soap, you will want to have on hand a small amount of isopropyl alcohol (also called rubbing alcohol) in a spray bottle. The alcohol helps to remove air bubbles after pouring the soap into the molds.
Isopropyl alcohol is also useful to help decorative items stick to the top of the soap if you are adding dried herbs, flowers, or additional soap decorations.
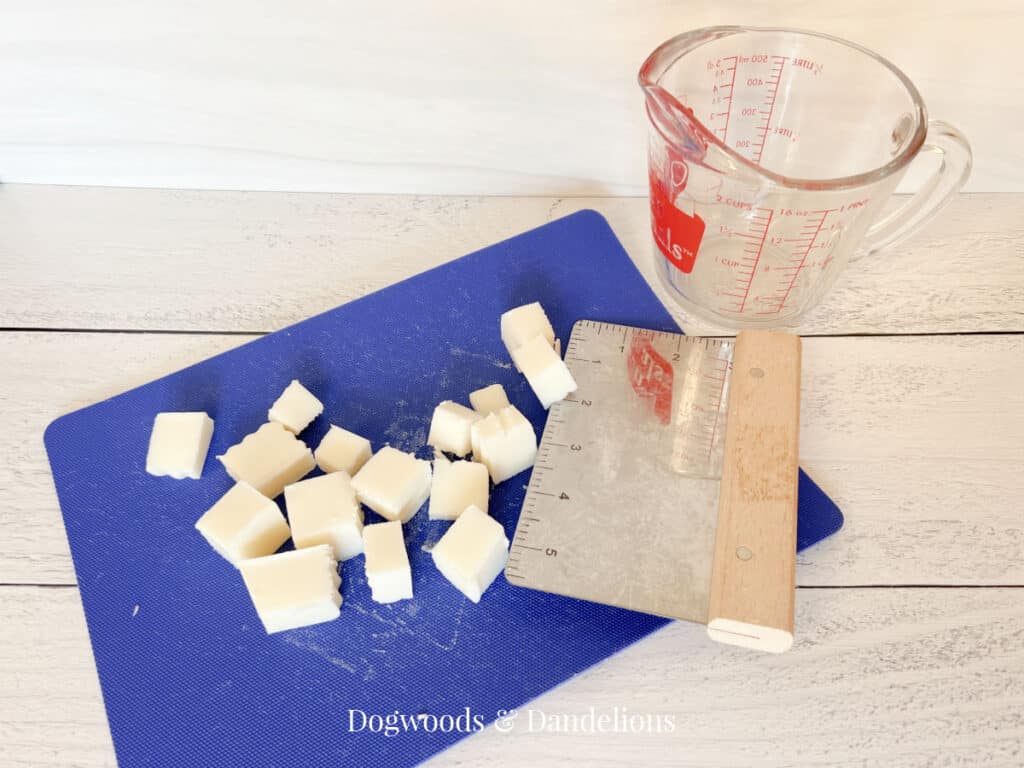
An Old Spoon, Cutting Board, and Knife
To stir your soap base as you melt it, you need an old spoon. If you don’t have an old stainless steel spoon around, you can purchase inexpensive ones at your local big box store.
Alternatively, you can use popsicle sticks to stir your soap mixture. I like to keep popsicle sticks around for soap making if I am using mica powders. They make it easy to mix the mica with the glycerin. (I explain more about this below.)
I also recommend purchasing a cutting board that you use just for making soap (though a piece of cardboard will do in a pinch) and a knife or bench scrape to cut the soap.
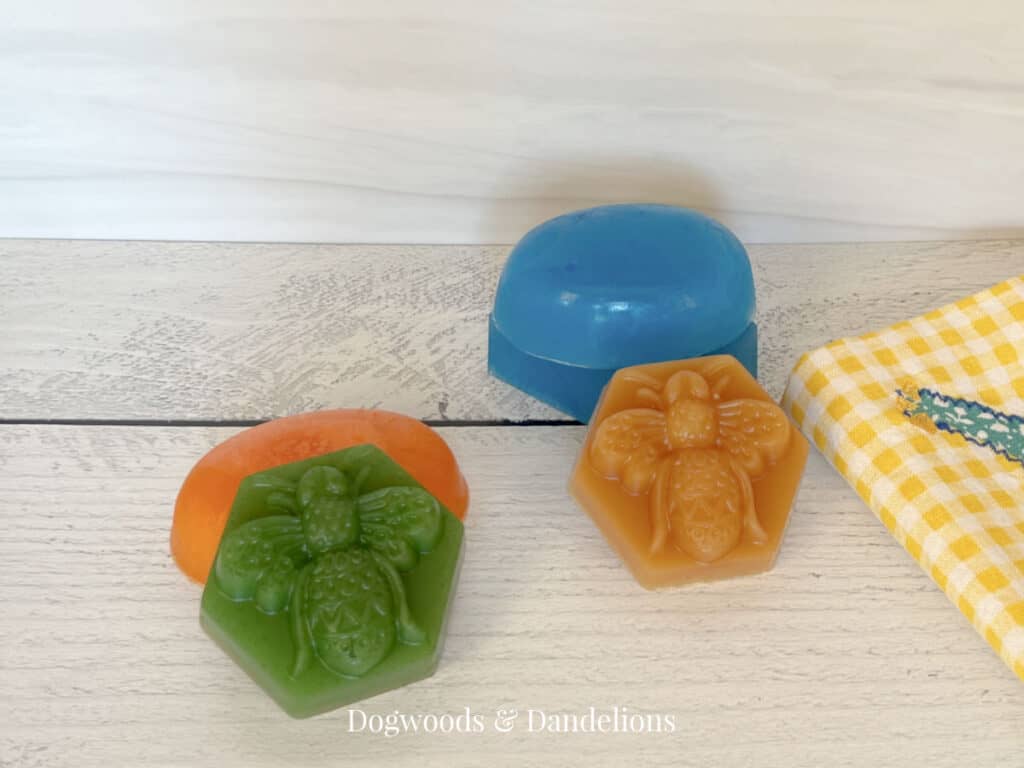
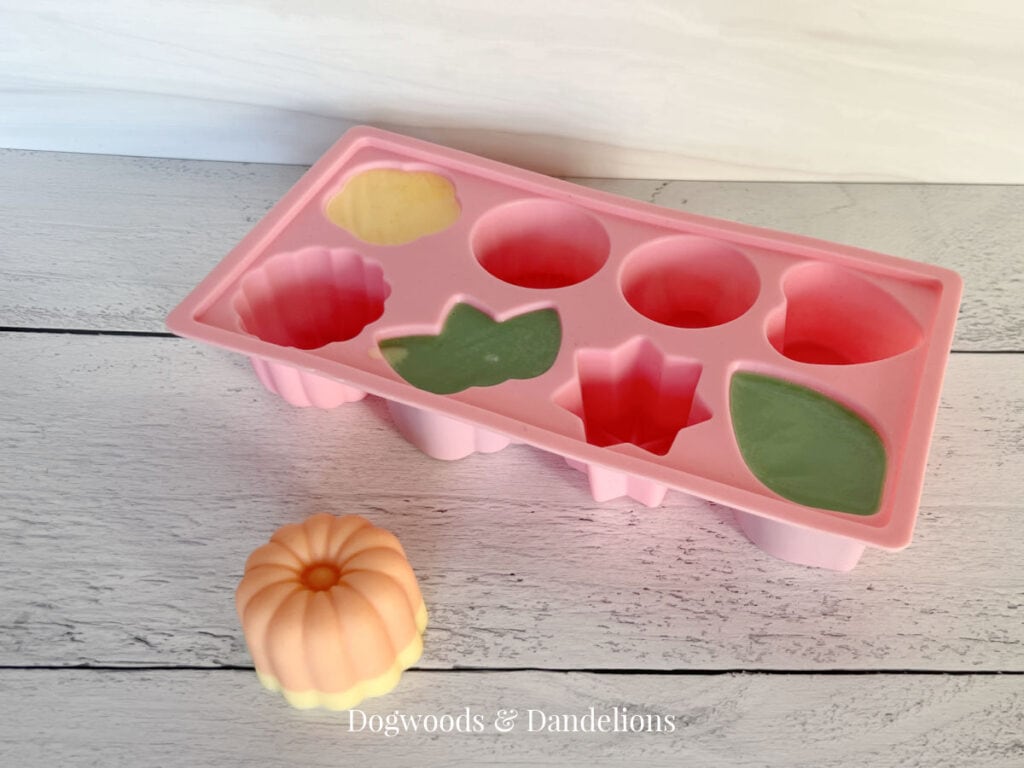
Soap Molds
There are many soap molds on the market today. I’ve listed some of my favorites below. I much prefer silicone molds as it is much easier to remove the soap from silicone molds versus the plastic ones. (I do still use the plastic ones on occasion because there are many more available designs.)
Another option for molds for your soap is candy molds. Most big box stores and craft stores carry candy molds that make great decorative accents for the top of your soaps.
- Flower soap molds
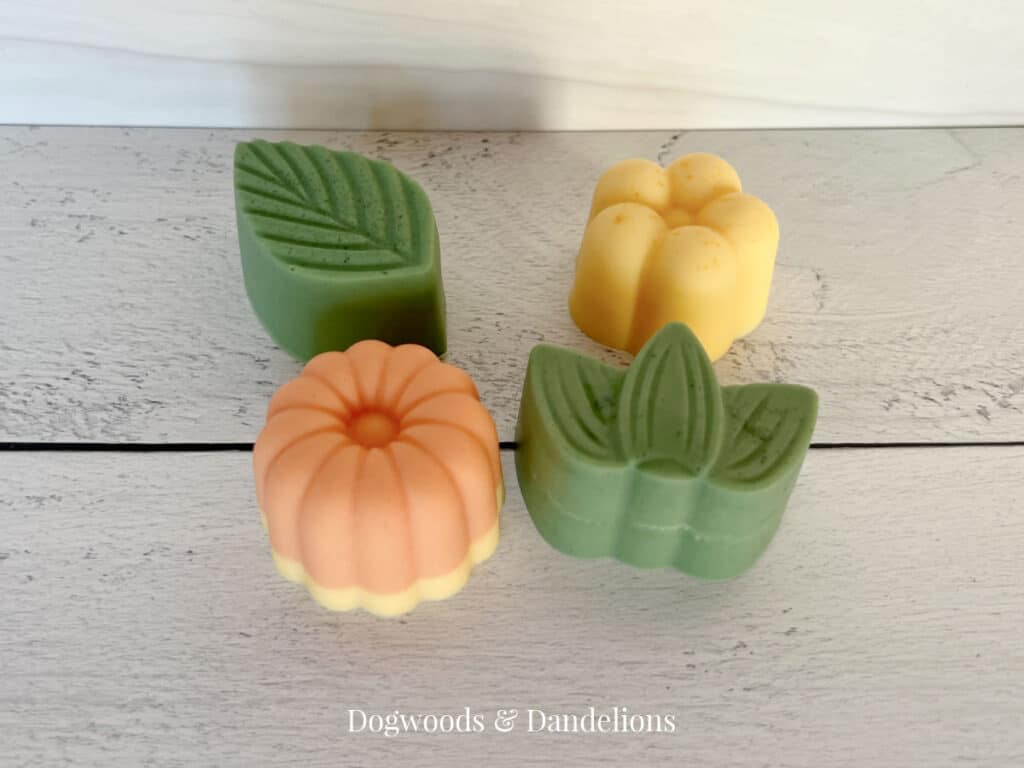
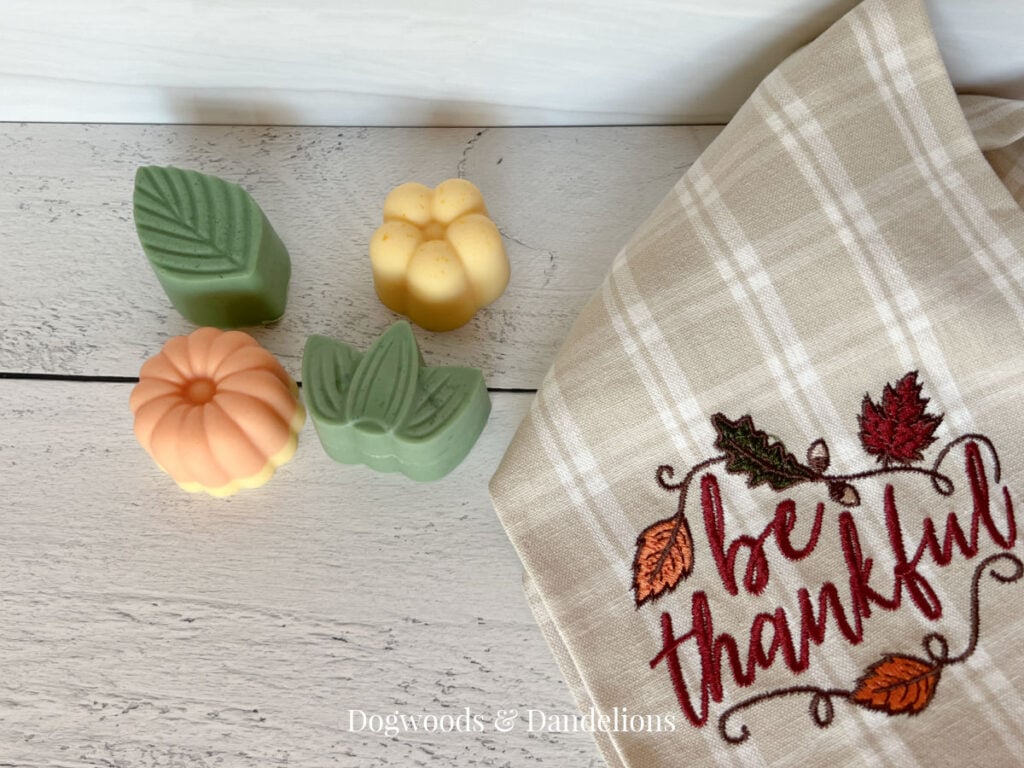
- Fall soap mold contains cavities for leaves, acorns, and pumpkins
- Flowers (2 molds) and a rectangular soap mold
Soap Bases
There are so many different kinds of soap bases to choose from. If you are wanting a transparent soap, you should choose a clear soap base. The colors will be brighter in a clear soap base. In any base that has a white tint, the soap colors will be more muted and paste.
- Shea butter melt and pour soap base
- Goat’s milk melt and pour soap base
- Clear melt and pour soap base
- Oatmeal melt and pour soap base
Soap Colorants
If you want to add some color to your soap, you have many options. The easiest way is to purchase a liquid soap colorant. You just squirt a few drops into the melted soap base and stir.
You can also use mica powder but these will need to be stirred into a bit of vegetable glycerin first so they get dispersed throughout the soap evenly. Otherwise, you will end up with clumps of mica in the finished soap. (Ask me how I know this!)
Soap Scents
When it comes to making your soap smell nice, you have two options – essential oils or fragrance oils. The choice is up to you.
Essential oils are a more natural product, but sometimes you just can’t find an essential oil (or an essential oil blend) that can duplicate the scent you want.
In that case, you may want to look at fragrance oils. There are fragrance oils in almost any scent you can think of.
And many companies are now making fragrance oils that are a little less toxic. I have had good luck with P&J Fragrance oils. They are phthalate-free.
You can purchase these oils in singles or Amazon sells packs that contain multiple oils. Two popular ones are the Autumn Set (contains brown sugar, apple, harvest spice, vanilla, forest pine, and snickerdoodle scents) and the Winter Set (contains cinnamon, gingerbread, sugar cookies, harvest spice, peppermint, and Christmas wreath).
If you want to stick with essential oils, my favorite essential oils brand is Plant Therapy. You can buy them on Amazon or directly from their website with free shipping.
Let’s Make Homemade Soap
Now that you’ve gathered your supplies, let’s make soap. You can find a printable copy of the instructions at the bottom of the post.
Supply List
- glass container
- melt and pour soap base of your choice – I prefer Stephenson, Our Earth’s Secrets, or Primal Elements brands
- an old spoon
- soap mold – I’m using this one in the photos.
- soap colorant, optional
- essential oils or fragrance oils, optional,
- dried herbs or flowers, optional
How to Make Decorative Soaps
Melting the Soap Base
The first step to making soap is to melt the pre-made soap base. I find that the easiest way to melt the base is to use the microwave. If you don’t want to use the microwave, you will need a small pot that your Pyrex measuring cup will fit down in or you can use a double boiler.
Before melting the soap base, you need to cut it into small cubes using a bench scraper (or knife) on your cutting board.
The cubes should be about 1/2″ or less. Smaller pieces will melt faster and keep you from overheating the base. Place the cubes into the Pyrex measuring cup.
Microwave the cubes for 30 seconds. (No need to cover. The soap base doesn’t splatter.) Remove from the microwave and stir. Continue heating in 15 to 30-second intervals, stirring after each one, until the soap base is mostly melted.
Alternatively, you can heat water in the base of the double boiler (or a small pot) until simmering and add the top portion of the double boiler (or Pyrex container), and melt the soap over the simmering water. Remove the soap from the stove as soon as it is melted before continuing with the rest of the recipe.
Caution: Do NOT overheat the soap base. You can always microwave for 10-15 seconds more if needed to melt the remaining bits of soap.
Always stir the soap gently. Stirring vigorously can cause unwanted air bubbles. While this doesn’t affect the soap’s cleansing properties, the bubbles can be unsightly.
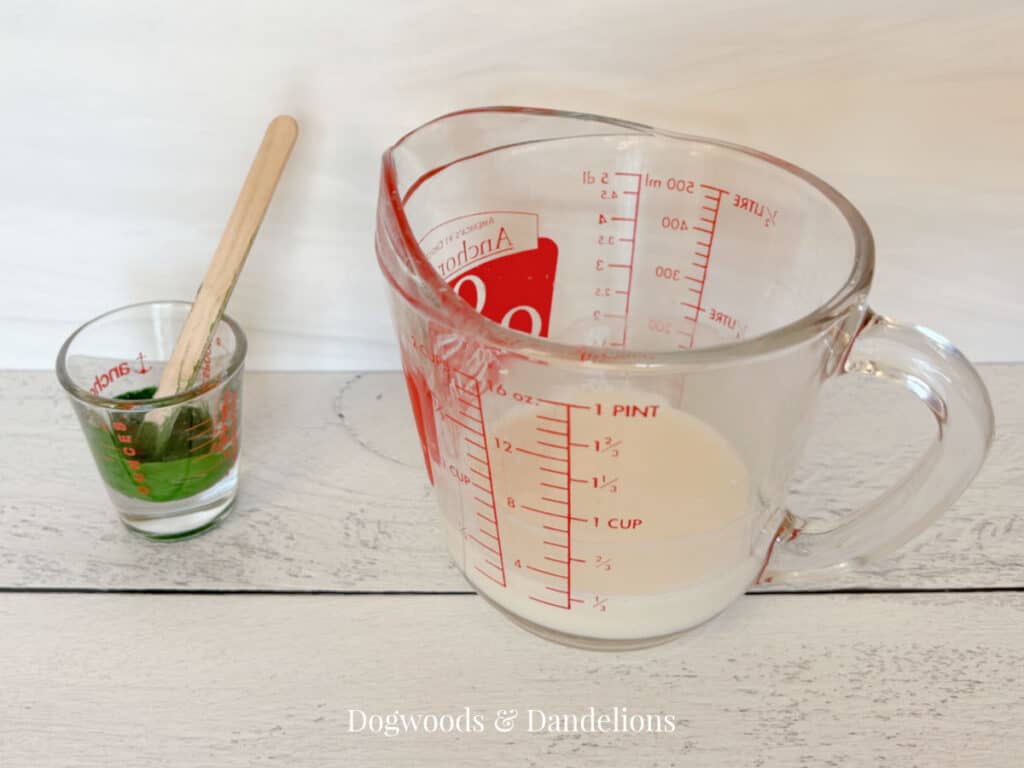
Adding Color & Fragrance
Once the melt and pour base is melted, add any soap coloring and/or a few drops of essential oils. Stir well to distribute the color throughout. If you notice any unmelted chunks, you can microwave the soap for an additional 10-15 seconds and then gently stir to finish melting.
If you wish to add any other ingredients to the soap like chia seeds, oatmeal, walnut shells, etc. add them next, stirring gently until incorporated. Many of these ingredients may sink to the bottom of the soap mold when you pour the soap.
Add the essential oils last, just before pouring the mixture into the molds. This allows the soap to cool briefly since the heat can cause the scent to dissipate. You can get my free printable of over 30 essential oil combinations by signing up below.
Pouring the Soap into Molds
Place your soap mold on a flat surface where it can stay for at least an hour until the soap cools. Gently pour the soap base into the molds.
Immediately spray the soap with the isopropyl alcohol. This will remove any air bubbles on the surface of the soap and make for a more professional-looking finished product.
Allow the soap to cool for at least an hour. It may take a bit longer if the soaps are larger bars.
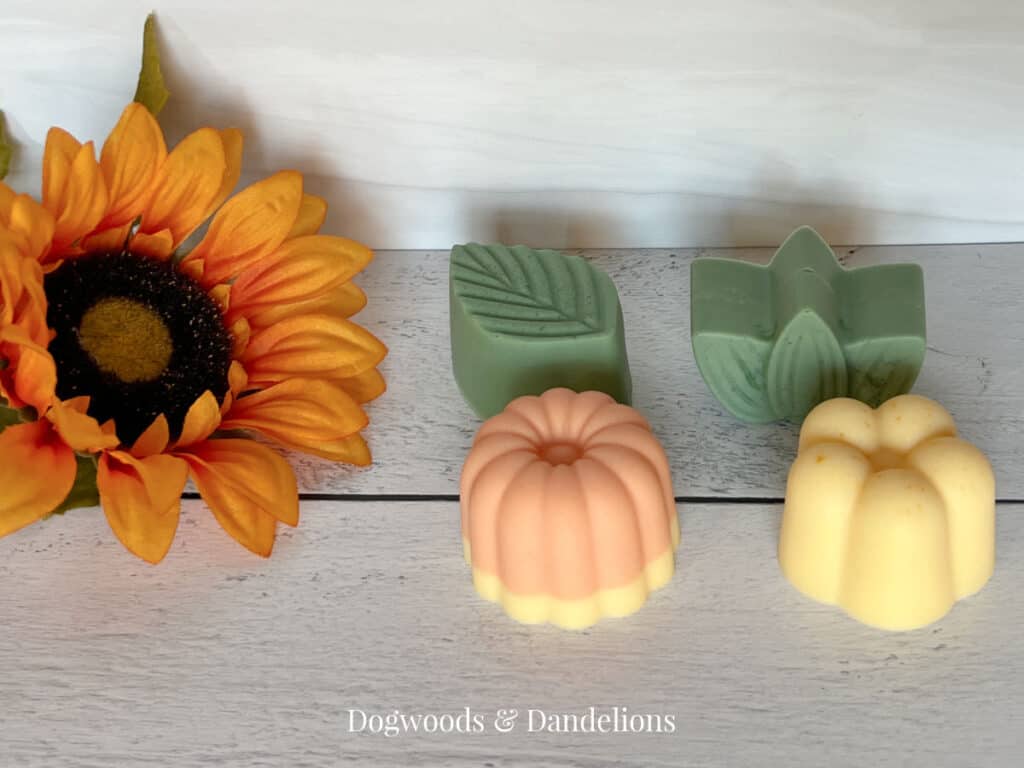
When fully cool, remove the soap by turning the mold upside down and pressing gently on the mold until the soap pops out.
If you have any soaps that are stubborn, (and mine usually are) you can put the soap in the freezer for 15 minutes to firm it up a bit. Then try again to release the soap.
Wrapping the Soap
Once your soaps are out of the molds, they should be wrapped with plastic wrap to prevent “glycerin dew.” Glycerin dew is what happens when the natural glycerin in the soap migrates to the outside of the bars. It happens more frequently in humid climates. (However, the soap is still perfectly fine to use.)
Other Soap Design Techniques
There are lots of other soap design techniques that you can incorporate into your decorative soaps as you gain more experience. You can make swirls or layers in your handmade soap.
Read more: The Secrets to Perfect Layers in Your Homemade Melt and Pour Soap Recipes
To encourage children to wash their hands you can embed toys in soaps for kids. You can even use scrap soap pieces to make beautiful stained glass soaps.
These decorative soaps are made from store-bought soaps, mod-podge, and scrapbook paper or fabric. Perfect for a quick gift when you really don’t have much time.
If you are serious about soap-making and want to learn how to make cold process soap, The Nerdy Farm Wife has a great tutorial. She shares her recipe for oatmeal & honey soap that only requires two different oils (olive oil and coconut oil) to make a nourishing natural soap.
It’s so much fun to play around with different methods of making soap to see what you enjoy most.
Making Decorative Soaps
It is so much fun to make decorative soaps. Handmade soaps make a great gift idea for Mother’s Day, Father’s Day, Christmas, and many other holidays. Soaps also make nice hostess gifts.
A Few Other Homemade Soap Recipes and Techniques
- Handmade Soap Gifts – This post shares lots of easy recipes and ways to make unique soaps that are perfect for gift-giving.
- Coffee Exfoliating Soap – What coffee lover wouldn’t enjoy showering with a soap bar that exfoliates using coffee grounds and smells like their favorite beverage?
- DIY Recipes that Use Coconut Oil – Bought a jar of coconut oil and don’t know how to use it up? These DIY recipes will have you wishing you had bought a larger tub.

How to Make Decorative Soaps
Ingredients
- 1/4 pound melt and pour soap base per soap depending on size of cavity in soap mold
- essential oils optional
- soap colorant optional
Instructions
- Cut soap into small cubes and place in Pyrex measuring cup. Melt in the microwave in 30 second increments, stirring after each increment, until soap is just barely melted. Do NOT overheat. Alternatively, you can melt the soap using a double-boiler.
- Once soap is melted, stir in soap coloring, mica, and essential oils.
- Pour soap into molds and allow to harden for at least 1 hour before removing from mold.
- Remove soap from mold and wrap in plastic wrap.

Meet Julie
I’m a farm girl born and bred in North Carolina. I’ve been growing a vegetable garden for over 20 years (and helping my Mom grow hers even longer). I’ve been raising chickens in my bathtub and backyard for 12+ years. I believe that homegrown food can be made simple. Let’s get started.