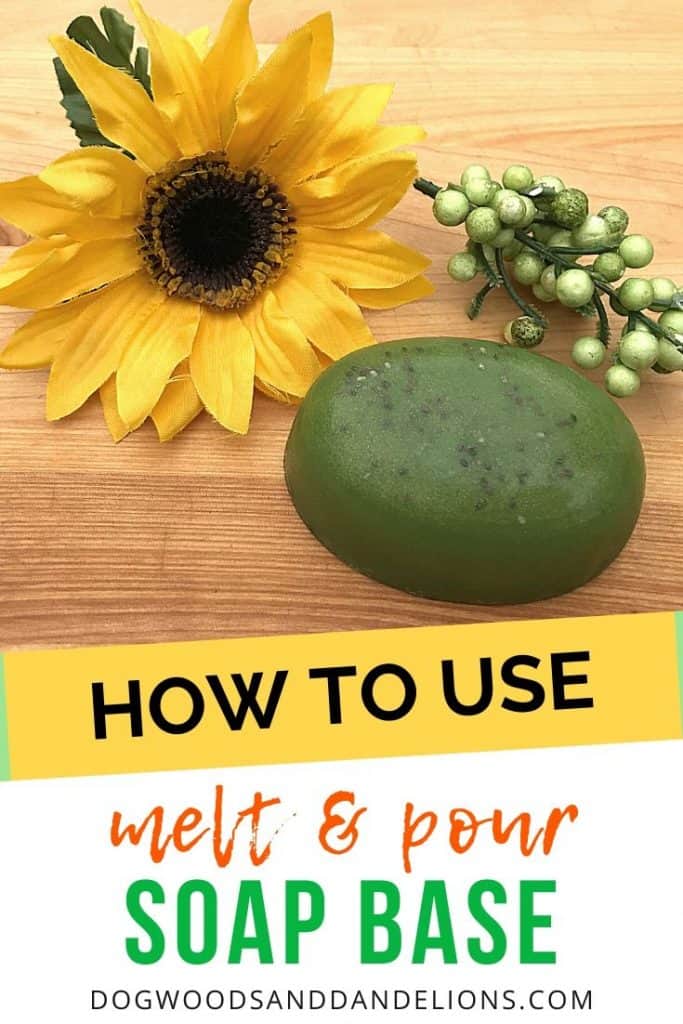
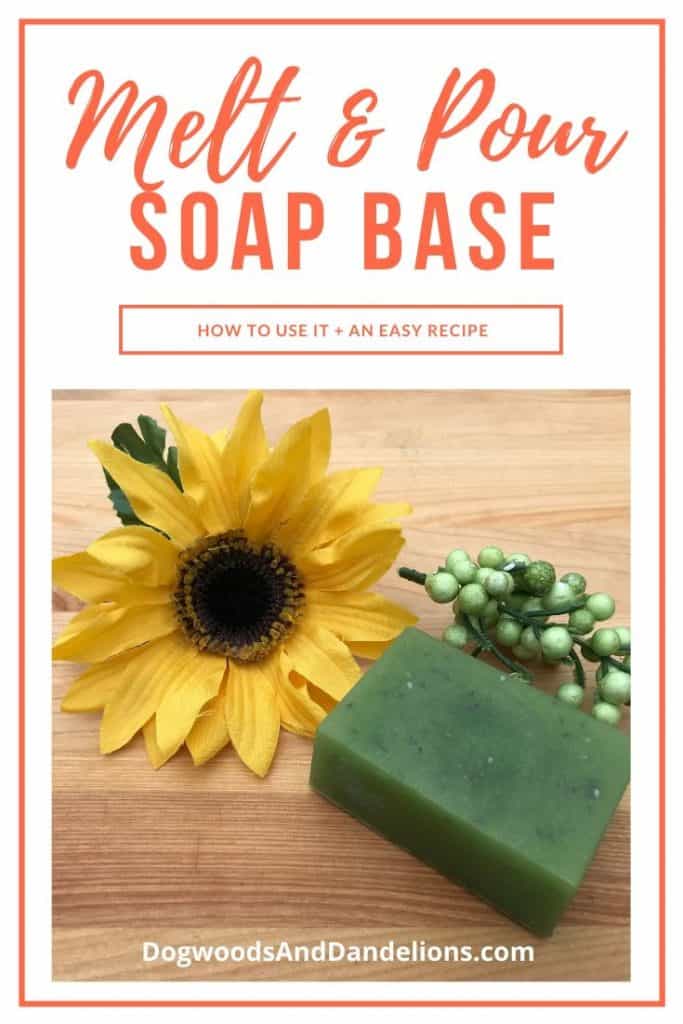
How to Use Melt and Pour Soap Base
Inside: This tutorial will teach you how to use melt-and-pour soap base to make easy soaps for family and friends. I share the tools you need, plus an easy melt-and-pour soap recipe to get you started.
Making melt-and-pour soap is a fun craft that doesn’t take much time. It makes great gifts for friends and family members and it is the one gift that is sure to get used.
If want to make your own soap but aren’t ready to tackle the steps of making cold process soap, using a ready-made soap base is the way to go. The base has already gone through the chemical process of transforming the lye into soap so it is a great way for new soap makers to get started.
Affiliate Disclosure: Please note that some of the links in this article may be affiliate links and I may receive a small commission if you purchase something through a link. It will not change your cost. As an Amazon Associate, I earn from qualifying purchases. For more information, see my disclosures page.)
Tools You Need to Use Melt and Pour Soap Base
There are several tools you need to make melt and pour soap. If you’re only planning on doing this project once or twice, you can probably use items you already have at home.
However, if you decide to make soaps frequently, you may want to keep a few of these items on hand specifically for soap making.
- knife or bench scraper to cut the soap base into cubes
- cutting board – I really like these flexible cutting boards as they bend making it easier to get the soap into the container.
- Pyrex measuring cup to melt the soap-It needs to hold at least 2 cups, but a 4 cup one will give you more room to stir.
- small spray bottle of isopropyl alcohol (also called rubbing alcohol) – Not absolutely necessary but it will help to remove bubbles and make for a more professional-looking product.
Soap Molds
There are so many different types of soap molds on the market nowadays. You can find them in different shapes besides just the traditional rectangle bar soap.
The molds also come in various materials. You can find large wooden molds, silicone molds to make individual bar soaps, or even plastic molds in lots of cute designs. I have a bumble bee mold that is adorable.
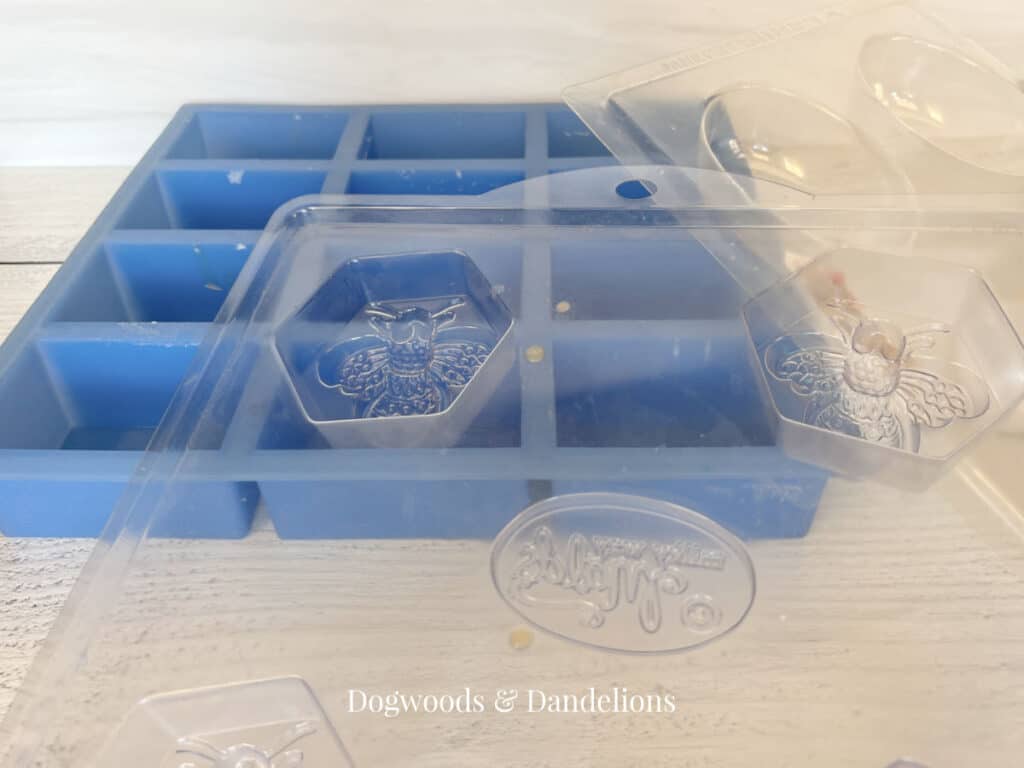
I will say that if you can afford them and plan to make quite a few soaps, you won’t regret purchasing the silicone molds. My soaps pop out of silicone much easier than my plastic ones.
- These rectangle silicone molds are very similar to the one I own.
- This 3 piece silicone set contains 1 rectangle mold and two flower molds. Each mold makes 6 soaps.
- This bumble bee soap mold makes 6 different soaps.
Ingredients to Make Soap
You can make great soap with only a few ingredients. Technically, to make soap, you don’t need any other ingredients besides the premade base. However, to make fancier soaps, you may want a few additional ingredients.
Soap Base
There are many types of soap bases to choose from. The procedure for using these soap bases is the same. You can choose from
- clear glycerin soap base, sometimes called transparent base
- goat’s milk soap base,
- shea butter melt and pour soap base, or even
- oatmeal soap base.
One pound of soap will typically make about four typical size bars of soap. Keep in mind, however, that this will vary based on the size molds you choose.
Coloring Your Soap
Most people prefer to add some color to their homemade soap. You can purchase liquid soap coloring or various colors of mica powder. For the easiest way to color your soap, I recommend purchasing the soap colorant.
If you use the mica powder, you will also want to add some vegetable glycerin to your shopping list. Mica powder doesn’t dissolve well in the soap base. Mixing it with a small amount of glycerin first will disperse the powder much better throughout your finished soap.
Adding Scent to Your Handmade Soap
Adding a scent to your soap is totally optional. And again, you have choices.
Essential oils are a great option to scent your natural soap bar. – My favorite brand of essential oils is Plant Therapy.
However, you can also use a fragrance oil if you prefer. There are so many fragrance oils on the market that you can likely find one to scent the soap in whatever fragrance you would like.
I’ve seen many unusual fragrance oils too. I actually own this rain fragrance oil and I;ve seen fragrance oil that makes your soap smell like fresh-cut grass.
My personal preference for scenting my soaps is essential oils, but fragrance oils will work just fine and may be a bit cheaper.
How to Melt the Soap Base
The first step to making soap is to melt the pre-made soap base. I find that the easiest way is to melt the base is to use the microwave. If you don’t want to use the microwave, you will need a small pot that your Pyrex measuring cup will fit down in or you can use a double boiler.
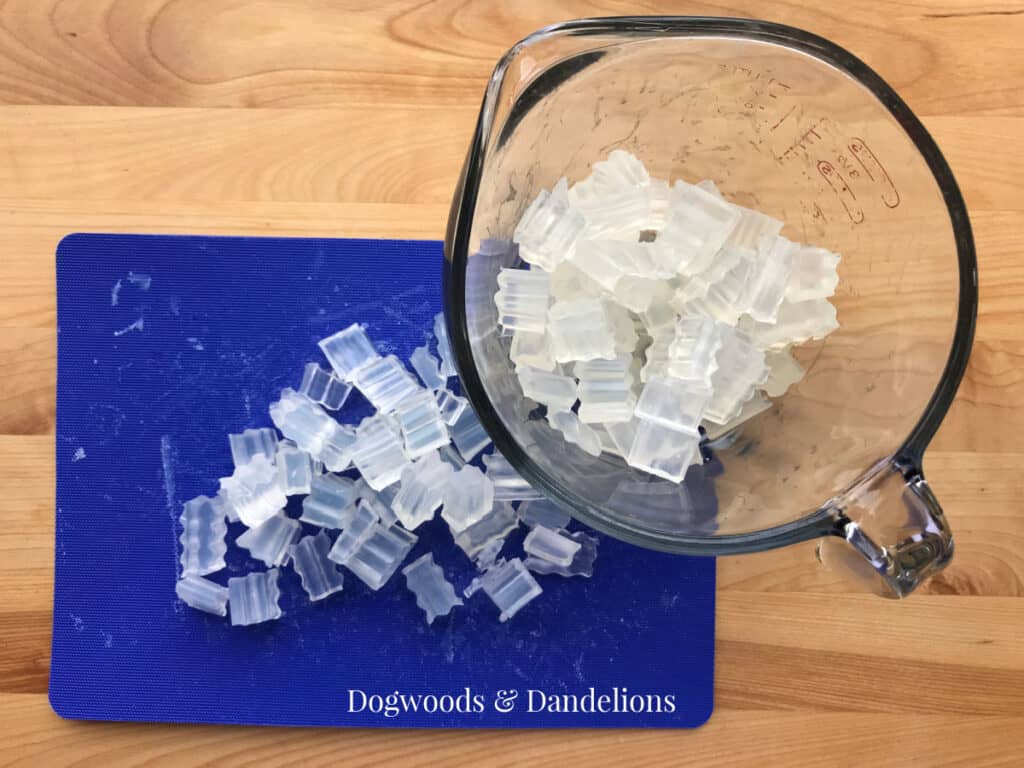
To melt the soap base, you need to cut the soap into small chunks or cubes using a bench scraper (or knife) and a flexible cutting board.
The cubes should be about 1/2″ or less. Smaller pieces will melt faster and keep you from overheating the base. Bend the cutting board and pour them into the Pyrex measuring cup.
Place the measuring cup in the microwave and heat for 30 seconds. (No need to cover. The soap base doesn’t splatter.) Remove from the microwave and stir. Continue heating in 30-second intervals and stirring after each one until the soap base is mostly melted.
Caution: Do NOT overheat the soap base. You can always microwave for 10-15 seconds more if needed to melt the remaining bits of soap.
When stirring the soap, try to stir gently. Stirring vigorously can cause unwanted air bubbles. While this doesn’t affect the soap’s cleansing properties, the bubbles can be unsightly.
Adding Color and Fragrance
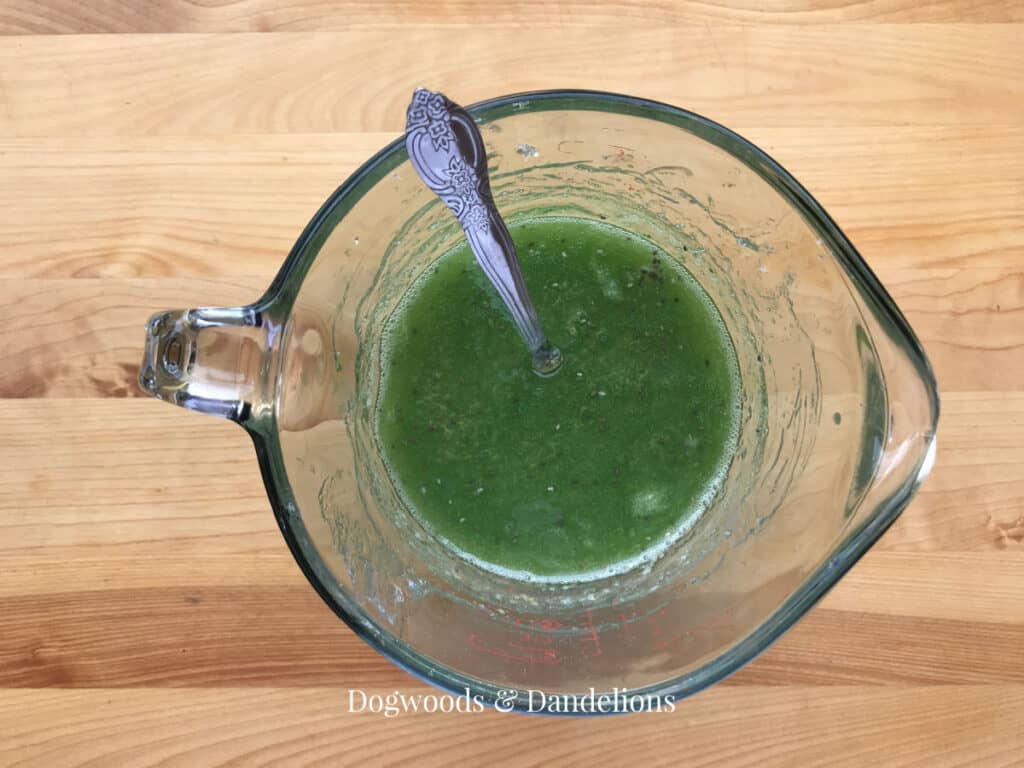
Once the melt and pour base is totally melted, add any soap coloring, mica, and/or essential oils. Stir well to distribute the color throughout. If you notice any unmelted chunks, you can microwave the soap for an additional 10-15 seconds and then gently stir to finish melting.
If you wish to add any other ingredients to the soap like chia seeds, oatmeal, walnut shells, etc. add them next, stirring gently until incorporated. Many of these ingredients may sink to the bottom of the soap mold when you pour the soap.
I always add the essential oils last, just before pouring into the molds. This allows the soap to cool briefly since the heat can cause the scent to dissipate. You can get my free printable of over 30 essential oil combinations by signing up below.
Pouring the Soap
Once everything is added, the soap mixture is ready to be poured into the molds. Be sure the mold is placed on a flat surface where it can sit for at least an hour. Fill each mold to just below the rim.
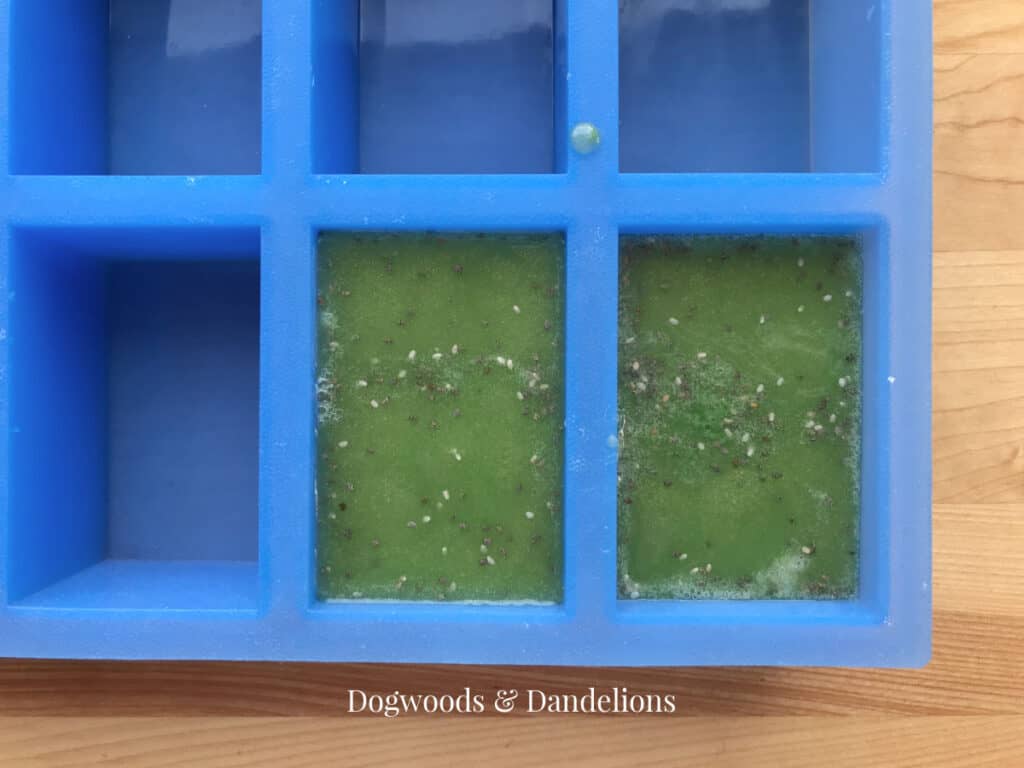
Immediately spray the soap in the molds with the alcohol. This will remove any bubbles from the surface. If you have extra soap, it can be poured into a plastic container. (I keep a few of these containers on hand for excess soap. We use these soaps ourselves.) Allow the soap to cool, undisturbed for at least an hour.
Before unmolding, check to be sure the soap is completely cool. If it still feels warm, wait another 30 minutes before attempting to remove it. Removing the soap too soon can cause the soap to be deformed and make it much more susceptible to nicks.
To remove the soap, turn the mold upside down and press gently on the mold until the soaps pop out. If they are being stubborn, (and mine usually are) you can put the soap in the freezer for 15 minutes to firm it up a bit. Then try again to release the soap.
Did You Know You Should Wrap Melt & Pour Soap?
Melt and pour soap looks beautiful sitting out, however, since it is glycerin-based, it will sweat in humid climates. While this doesn’t affect the soap, it does make it less attractive.
To prevent this, you need to wrap each bar individually in plastic wrap. You can gift them just wrapped in the plastic, or put a label over the plastic.
If you want to shrink-wrap your soap, you can do so quite easily. A hairdryer works okay, but if you (or your husband) have a heat gun lying around it will make for a much more professional job.
You don’t need any special soap wrappers. Regular plastic wrap works just fine. After much trial and error, I have found that the cheap plastic wrap actually works best for this trick. (If you have a Food Lion near you, their brand is my favorite!)
Once you have each bar of soap wrapped, gently run the heat gun over the soap, keeping the gun moving at all times. The plastic wrap will shrink to fit your soap. Use caution while doing this to ensure you don’t burn your fingers, the soap, or anything else!
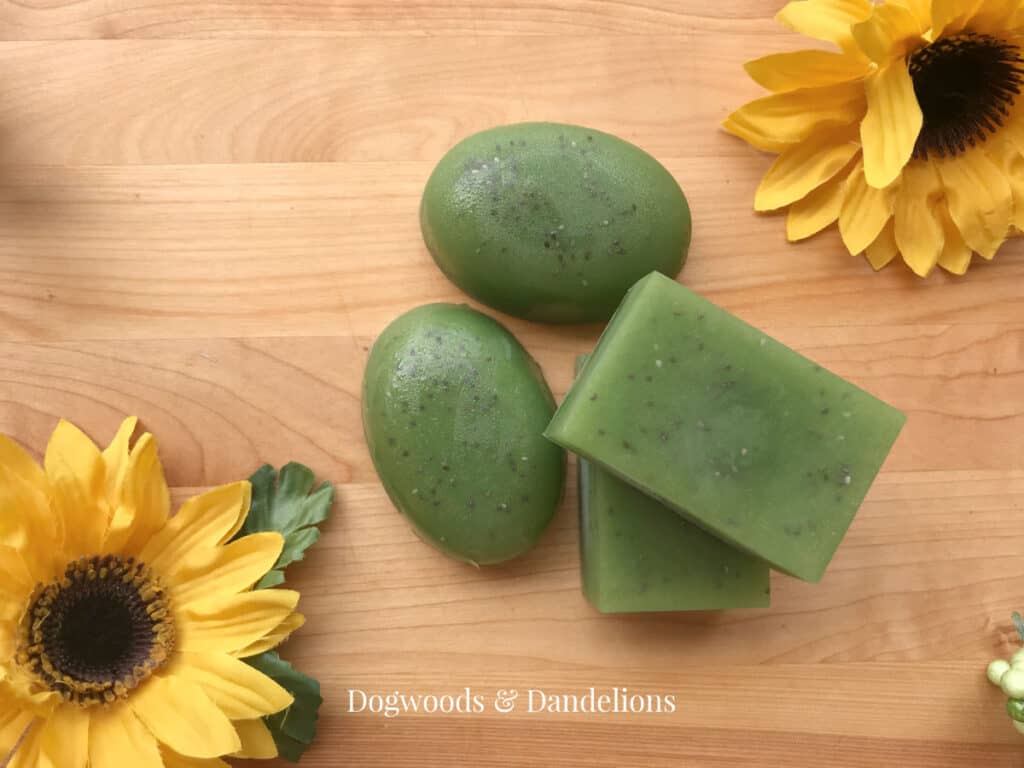
Lime & Cedarwood Soap Recipe
I wanted to share an easy, yet beautiful, melt and pour soap recipe with you so you could try this out yourself. This recipe comes from Maura at Happy Deal Happy Day. She has graciously given me permission to share it with you.
Maura’s original recipe used 2 pounds of soap base and made 12 bars. I halved her recipe and made 4 large bars since my soap mold is pretty big. I also like to make small batches so I can change up the scent or make different colors each time.
You can find a printable version of this recipe at the bottom of this post.
For this specific recipe you will need the following ingredients in addition to the tools listed above:
- 1 pound of clear soap base
- lime essential oil (My favorite brand of essential oils is Plant Therapy. You can order directly on their website and they offer free shipping on any size order.)
- cedarwood essential oil
- yellow and blue soap color (This is a three-pack that includes red also.)
- gold mica
- chia seeds (poppy seeds would also work if you already have those on hand)
Instructions for Making Lime & Cedarwood Soap
- Cut soap into small cubes and place in a Pyrex measuring cup. Melt in the microwave in 30-second increments, stirring after each increment, until soap is just barely melted. Do NOT overheat.
- Once soap is melted, stir in soap coloring, mica, and essential oils.
- Pour soap into molds and allow to harden for at least 1 hour before removing from the mold.
- Remove soap from the mold and wrap it in plastic wrap.
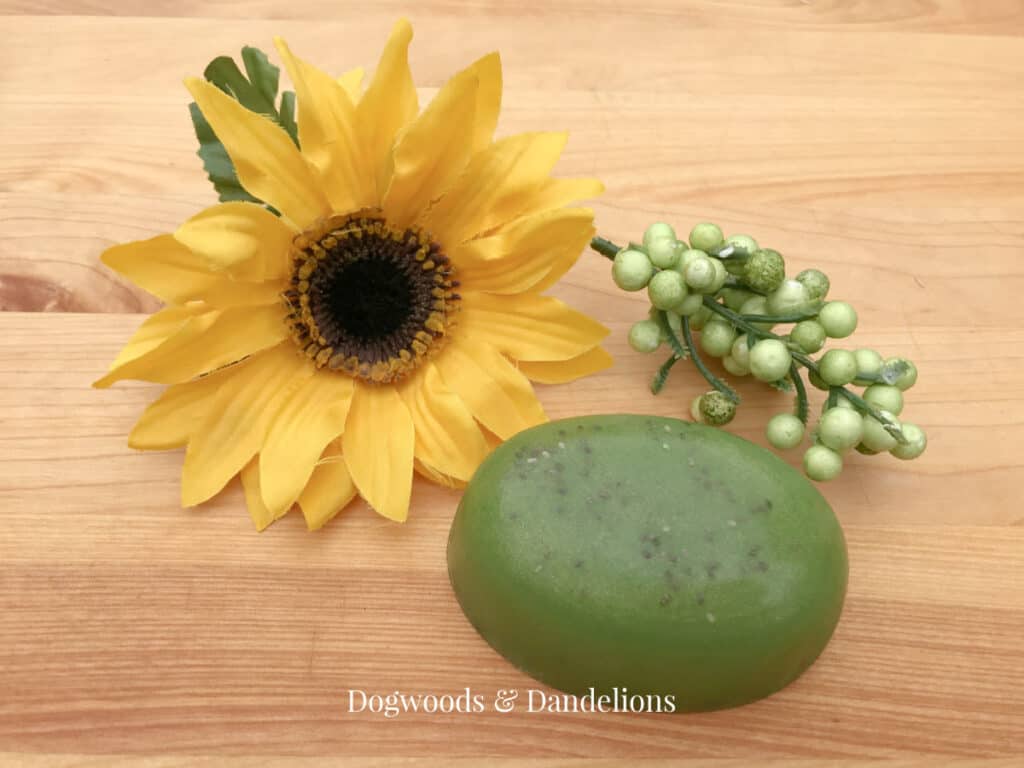
I love using this soap beside our utility sink. The chia seeds help to scrub off garden dirt from my hands. And afterward, I apply a bit of my Homemade Hand Salve to soften my skin.
If you want more great diy recipes and ways to save money, check out Maura’s blog at Happy Deal Happy Day.
For another easy exfoliating soap recipe, check out my recipe for Coffee Exfoliating Soap.
I hope this post shows you how much fun it can be to make your own soaps at home. Making soap is a great activity to do for a girl’s night out or a teen slumber party.
Purchase several types of soap base (a clear melt and pour base and a goat milk base for instance), different colors of mica, and several scents and you’ve got the making of a fun activity to do with friends.
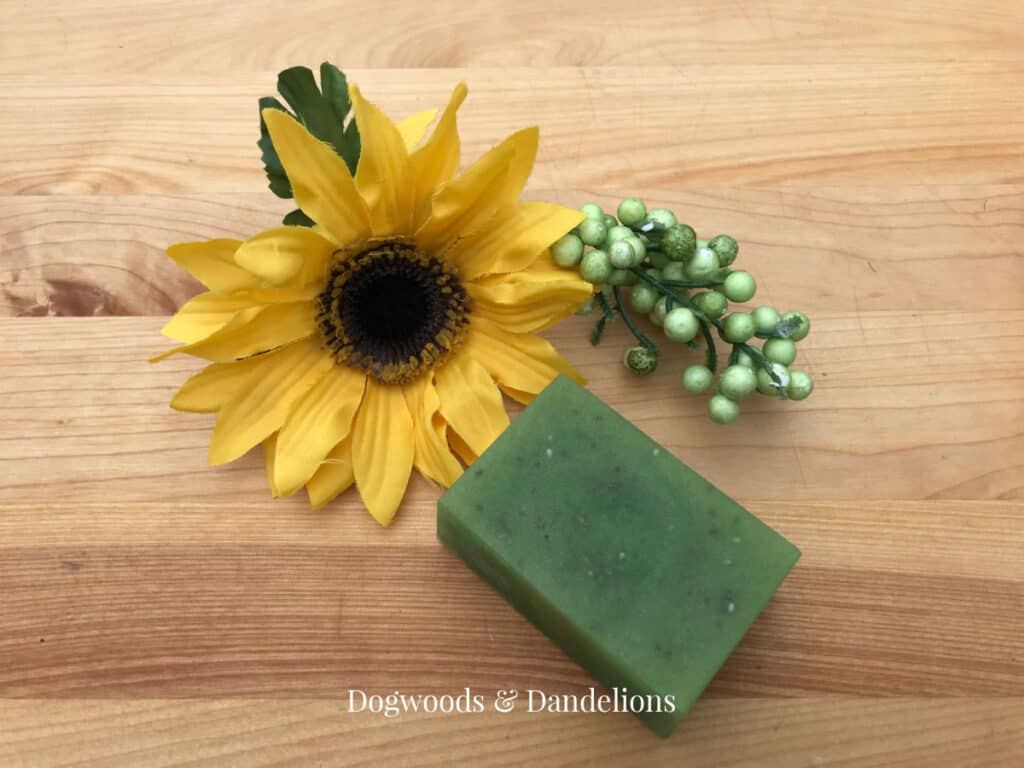
Lime & Cedarwood Soap with Chia Seeds
Ingredients
- 1 lb. clear melt & pour soap
- 12 drops lime essential oil
- 7 drops cedarwood essential oil
- 1/2 tsp. chia seeds
- 3 drops yellow soap coloring
- 1 drop blue soap coloring
- 1/8 tsp. gold mica powder
Instructions
- Cut soap into small cubes and place in Pyrex measuring cup. Melt in the microwave in 30 second increments, stirring after each increment, until soap is just barely melted. Do NOT overheat.
- Once soap is melted, stir in soap coloring, mica, and essential oils.
- Pour soap into molds and allow to harden for at least 1 hour before removing from mold.
- Remove soap from mold and wrap in plastic wrap.
Related Posts
Here is a list of some of my other soap-making tutorials.
- Secrets to getting perfect layers in your melt-and-pour soaps
- Coffee exfoliating soap
- Do-it-yourself foaming hand soap
- Homemade Soap Gift Ideas

Meet Julie
I’m a farm girl born and bred in North Carolina. I’ve been growing a vegetable garden for over 20 years (and helping my Mom grow hers even longer). I’ve been raising chickens in my bathtub and backyard for 12+ years. I believe that homegrown food can be made simple. Let’s get started.
Hi there,
Thanks for the recipe. I have been using melt pour bases for years. It is easy to add other ingredients including your favorites scent. You can also add a small amount of castor oil for skin softening and, it will help with lathering as well. I prefer using skin safe mica powder and have no trouble mixing it into the soap with a whisk. I also make shampoo bars from the melt & pour soap. And, it be used all by itself too. Thanks again.
These are some great soap making tips. Thanks for sharing.
I also might use spirulina powder to color the soap. It has lots of health benefits, although they are listed as such for internal use. I don’t know if any benefits would transfer to topical use…..
There are other herbs/spices that could be used to color soaps that would have benefits over colorings.
Spirulina powder would be a great option to color the soap. Great suggestion!
Thank you for this recipe. I don’t use a microwave, so I’ll be using a double boiler. I also don’t use plastic wrap (SO bad for the environment and spendy) so I’ll be using tissue or parchment paper instead.
I have heard that unless you are using natural mica colors, (browns, tans, etc.,) there are other toxic ingredients added to make vibrant colors such as red and blue…..
I have never heard of using chia seeds in soap: I think I might use coffee grounds instead…
Looking forward to making this recipe!
The double boiler works great. And you will definitely want to use parchment paper, not tissue paper. Melt and pour soap can “weep” and will stick to the tissue paper making a yucky mess. And you can definitely use coffee grounds too. I even have a recipe on the blog that uses them as well. Happy soap making!