Starting Vegetables From Seed
Inside: Learn how to start vegetables from seed indoors.
If you’ve decided to start a garden this year, chosen what you want to plant, and have it planned out, you may want to try starting vegetables from seed instead of purchasing all your plants.
Advantages To Starting Vegetables From Seed
One advantage to starting vegetables from seed, is that you can find a much greater variety of vegetables in seed form as opposed to transplants.
Most garden centers will only have a couple of varieties of tomatoes and peppers, for instance, but in seed catalogs and online, you can find any number of varieties to suit your needs and growing conditions.
However, when starting seeds, I caution you to START SMALL! There is no need to plant the entire pack of tomato seeds unless you have a large garden.
I usually start one or two extra plants, in case a few don’t germinate, but even with my large garden, I don’t plant the whole pack. Seeds will usually keep for several years if kept in a cool, dark, dry place.
Another reason to start your own seeds is because it is much more economical, especially if you have a large garden. Even if your garden is small, you can usually purchase a pack of seeds for less than one transplant.
Affiliate Disclosure: Please note that some of the links in this article may be affiliate links and I may receive a small commission if you purchase something through a link. It will not change your cost. As an Amazon Associate, I earn from qualifying purchases. For more information, see my disclosures page.)
Options For Starting Your Own Seeds
When starting seeds, you will need to determine what kind of container you want to start them in. This can be the most challenging part as there are many methods on the market right now.
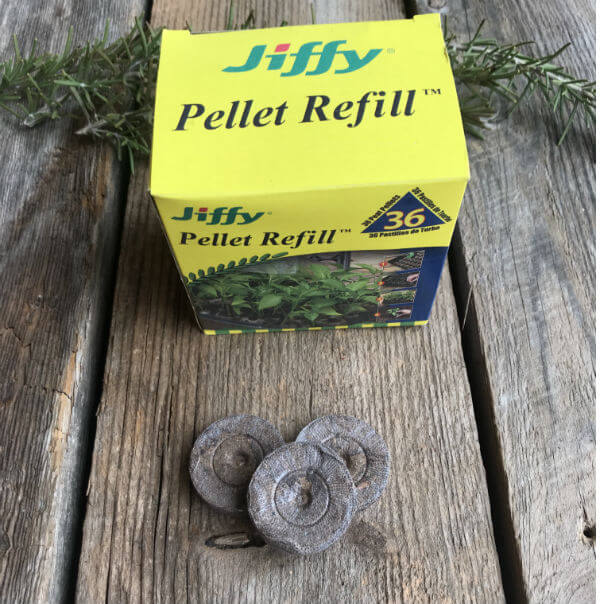
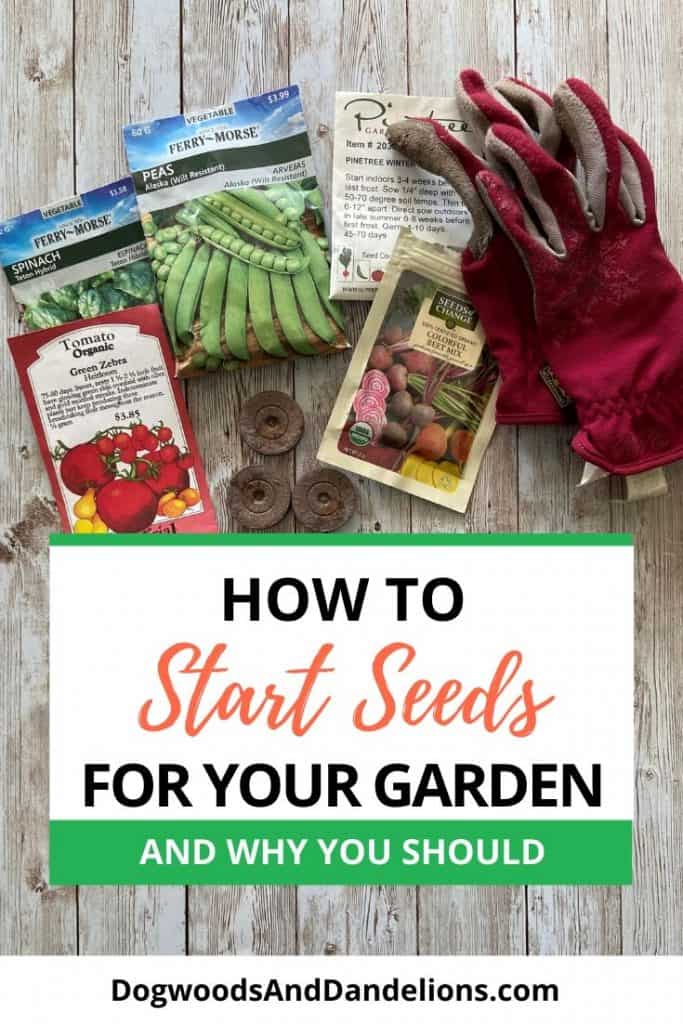
One of my favorite ways to start seeds is to use the Jiffy pellets. These can be found on Amazon as well as at Walmart and most home improvement stores.
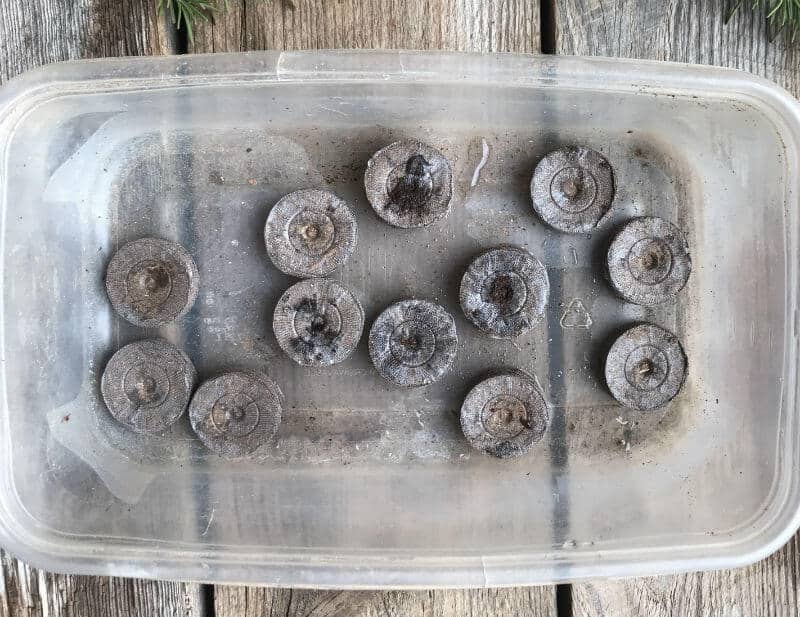
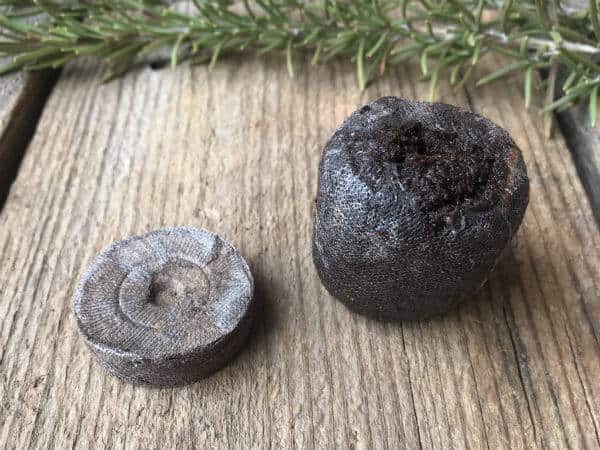
To use the pellets, you allow them to soak in warm water until they expand several inches. They don’t take up a lot of room to store and they are a lot less messy than potting soil. (For those of you who actually do the seed starting indoors, your family will thank you. No dirt all over the floor!)
You will need a tray to put the pellets in, but you can use an old plastic container or an old sheet pan. Another advantage to these pellets is that you only moisten as many as you need.
Another option is to purchase a growing tray. You will also have to purchase potting soil to put into the cells in the trays which can get a bit messy, but they work just fine and I have used them many times.
A third option you can use to start seedlings is to use peat pots. This is my least favorite choice. They still have to be filled with potting soil and they seem like a great option because they are bio-degradable.
However, I have found that many times, the peat pot does not disintegrate very well and I find pieces of them several seasons later. If you choose to go this route, you will still need a tray to put under them as well.
Do I Really Need A Grow Light?
The other item you really do need if you are going to start seeds indoors is a grow light. These can be quite expensive.
However, I have found that without a grow light, you won’t be very successful starting seeds. The only exception to this would be if you have a window that receives 8+ hours of direct sunlight each day. (Most of us probably don’t have this much sunlight in our house this time of year.)
If you need a budget-friendly grow light, I recommend checking out the lighting section at Walmart or a home improvement store. Several years ago, I purchased a small shop light (similar to this one) for less than $12 and it works great.
The only problem with this method is that you will have to get creative about how to hang it since it won’t come with a stand like most grow lights do.
Recently, I discovered the LED grow lights. While I wasn’t sure they would be worth the extra expense I bought 2 last year to try.
My plants under the grow lights did so much better than the ones under the shop lights. They were much sturdier, with thicker stems and greener leaves. While shop lights will work, LED grow lights do work better. I’ve now bought 6 of these.
For more information on using grow lights, check out the best grow lights for starting seeds indoors.
I have mine attached to a wire shelving system and it has been working quite well for me for several years now. When the season is over, it is easy to take down and store in my garage.
This year I am trying these new grow lights. They are LED full-spectrum lights and they come with cables to hang them up!
How To Determine When To Start Your Seeds
Once you have determined your seed starting set up and purchased your seeds, you need to determine when to start them. If you haven’t already, you need to determine your last expected frost date.
Look on the seed packet and find out how many days before frost you can start the seeds. Count back from your last expected frost date to determine when to start the seeds.
For instance, the last expected frost date for my zone 7 garden is approximately April 10. My seed packet of tomatoes says to plant them 6-8 weeks before the last frost.
Counting backwards 8 weeks gives me a date of February 14. So between February 14 (8 weeks out) and February 28 (6 weeks out) is when I should start my tomato seeds. (My grandfather always said to start tomato seeds on Valentine’s Day! He was right.)
The seed packets you purchased should also tell you how deep to plant the seeds based on what type of plant you are growing. Tomatoes are usually sown about 1/4″ deep, but lettuce just needs to be barely covered to germinate.
Also remember that some vegetables such as carrots, corn, beets, and beans do not transplant well and should be planted directly in the garden at the proper time. This information should also be stated on the seed packet.
Read More: Should I Direct Sow Seeds or Buy Transplants
Let’s Plant
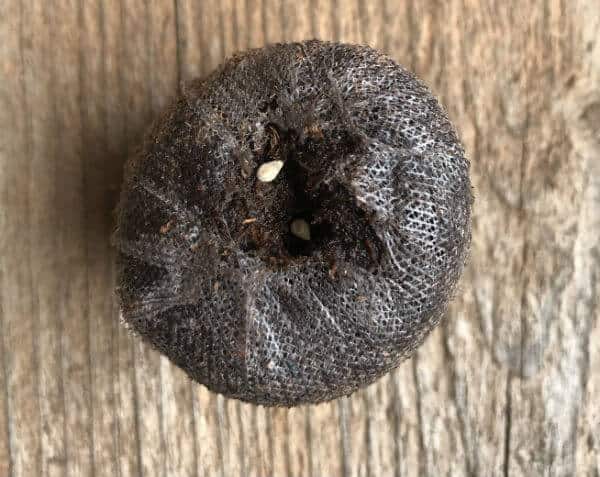
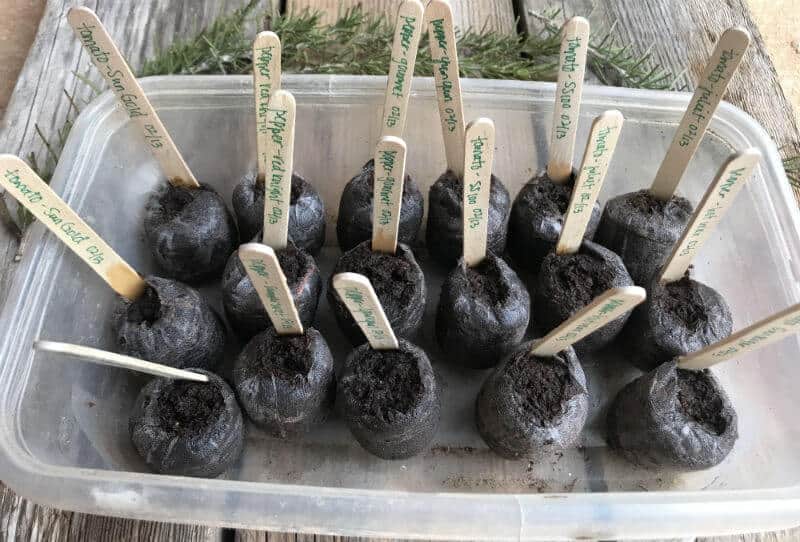
Armed with all the above information, it is quite simple to start your seeds. I recommend putting two seeds of each plant in each pot or cell. Cover them with soil according to the information on the plant packet.
Be sure to label the pots so that you know what you planted. I find it best to label each and every pot. (It is too easy to mix them up if each one is not labeled.) I usually use a sharpie and a popsicle stick as my labels. Place your seed trays in a warm area until they start to germinate.
Once the seedlings have started sprouting, you will need to turn on your grow light for at least 12 hours a day. 14 is even better, but don’t leave the light on constantly. The seedlings need the dark overnight also.
You should keep the grow light about 2 inches above the seedlings. This means you may have to move the light up every couple of days. Alternatively, you can place books underneath the plants and remove the books to allow more room between the light and the seedlings.
If you happen to have a warm day, you can place the seedlings outside for a couple hours. Don’t leave them all day the first time you put them out. Also don’t forget to bring them back in at night. A surprise frost will kill many of them.
Daily Care For Your Seedlings
Check the moisture of the growing medium daily and do not let it dry out completely. Keep the soil moist and water from the bottom, not the top. (Watering from the top can cause shallow roots and fungal diseases.)
Even if both seedlings come up in each cell, let them both grow for a bit. When it comes time to transplant them to a larger container, you can easily snip off the weakest one with a pair of scissors.
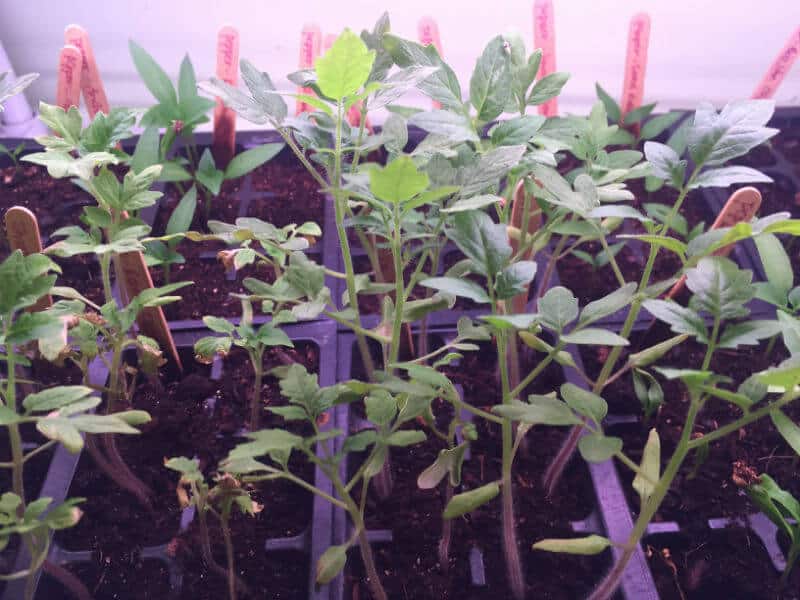
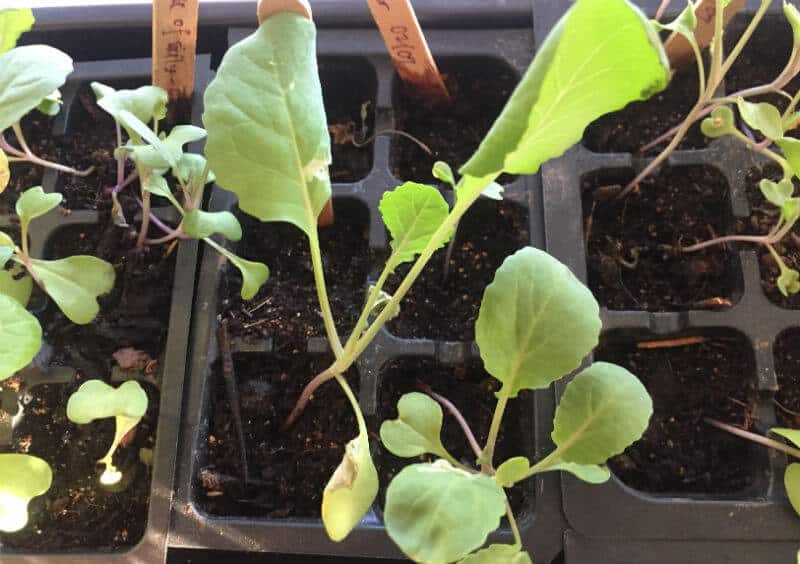
Monitor your plants daily and sit back and watch them grow. When you are ready, you can transplant them to a larger container to finish growing before moving them outdoors.
Do you start seeds yourself or do you buy transplants from the store? What are you planning on growing this year?
Related Posts
- How To Transplant Seedlings
- Easy Vegetables For Children To Grow
- Gardening in Zone 7
- Fast Growing Vegetables

Meet Julie
I’m a farm girl born and bred in North Carolina. I’ve been growing a vegetable garden for over 20 years (and helping my Mom grow hers even longer). I’ve been raising chickens in my bathtub and backyard for 12+ years. I believe that homegrown food can be made simple. Let’s get started.

Julia,
This was so full of helpful information. I love the idea of the pellets! I just hate when my hubby and kids want to drag potting soil seedling into the house! We did not try the light and in the house we live in now the seedlings didn’t take last year. I’m betting the light would really help. Thanks for all the detailed info.
I love the pellets too because even if it’s cold outside, you can start them inside without making a mess. I actually did the ones in the picture in my foyer!