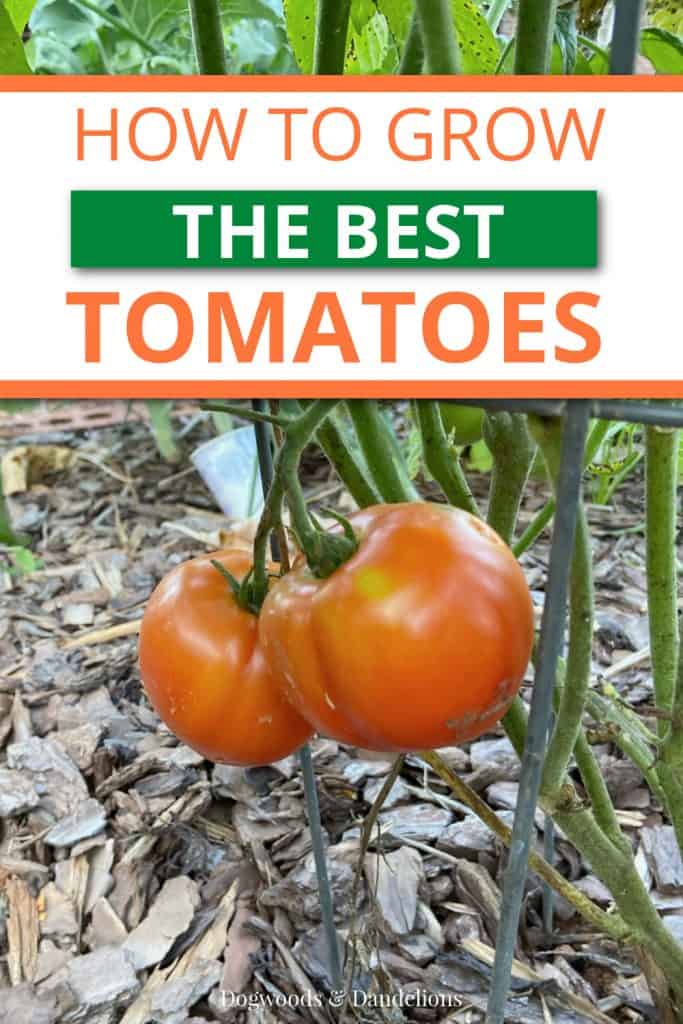
How to Grow Tomatoes
The first vegetable (fruit?) most gardeners decide to grow is tomatoes. Even if you don’t grow a large garden, many people will keep a tomato plant in a pot on their back deck.
Why are tomatoes so popular? Well…there is just nothing like the taste of a homegrown tomato. Learn how to grow tomatoes in your own backyard so you too can experience how delicious they really are.
First Time Growing Tomatoes?
If this is your first time growing tomatoes, I recommend purchasing plants from your local garden center. While tomatoes aren’t difficult to start from seed, if you don’t have the equipment to start them properly (grow lights) you won’t have much success.
Using transplants will also most likely allow you to harvest tomatoes early than if you started them yourself from seed. While you won’t have the variety of tomato plants to choose from, you should still be able to find a decent selection that will grow well in your area.
Even though I’ve been gardening many years, I still usually purchase 1 or 2 tomato plants from the garden center to get a jump on harvesting tomatoes sooner.
Affiliate Disclosure: Please note that some of the links in this article may be affiliate links and I may receive a small commission if you purchase something through a link. It will not change your cost. As an Amazon Associate, I earn from qualifying purchases. For more information, see my disclosures page.)
How to Start Tomatoes From Seed
To start tomatoes from seed, they need to be started indoors at least 6 weeks before your last frost. (You can find your average first and last frost dates here.) However, 8-12 weeks is even better.
My grandfather always started his tomatoes on Valentine’s Day in our zone 7 location which is about 2 months from our last expected frost.
Start the seeds in small containers with seed starting mix or Jiffy pellets. Keep the soil mix moist while the seeds germinate.
Once the plants start to emerge from the soil, move them under grow lights. (Find my favorite grow lights here.) They need 12-14 hours of light each day. Without grow lights your tomato plants will be leggy and not have thick stems.
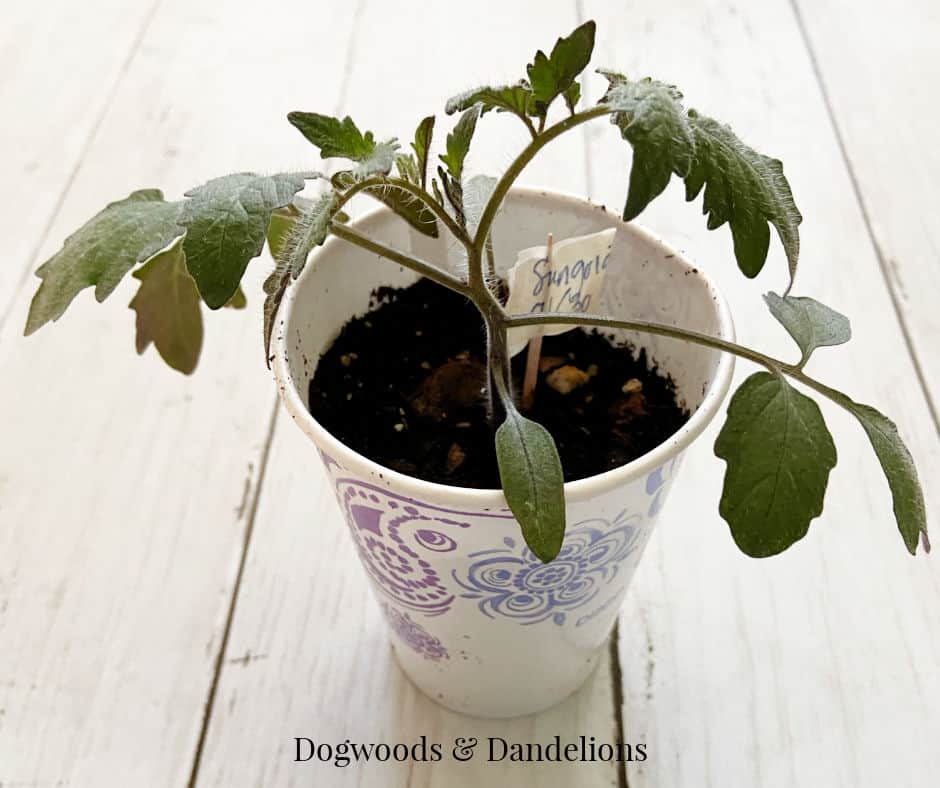
If you started them in small containers or Jiffy pellets, they will need to be potted up (moved to a larger container) when the roots start to circle inside the container. Do not let them get root bound or it will stunt their growth.
As the tomato plants grow, keep them under the lights for 12-14 hours a day. Try to maintain a 2″ distance from the top of the plant to the lights.
A week or two before it’s time to transplant your tomato plants to the garden, be sure to harden them off properly so they are prepared for the harsher conditions outdoors.
How to Plant Tomatoes In the Garden
After your last expected spring frost, you can transplant your tomato plants into the garden or a container.
Don’t plant tomatoes in the same spot you planted tomatoes, peppers, or potatoes the prior year. (They are all in the same family so they are susceptible to the same types of diseases.)
Some people like to wait another week or two after their last expected frost date to ensure they won’t get hit with an unexpected cold snap. Any amount of frost will likely kill your plants or at least damage them enough to stunt their growth.
If possible, plant your tomatoes on a cloudy day. This will give them a chance to get established in their new home without dealing with the hot sun.
Plant your tomato plants in well drained soil in the garden. Dig a hole larger than the plant. If the plant is leggy, did the hole even deeper. You can plant a tomato plant almost to the top leaves, leaving just a bit of the plant above the ground.
The plant will actually produce roots all along the part of the stem that is below the ground. If you are planting the tomato deep, strip any leaves along the stem that will be below the soil level.
You can also plant tomatoes using the trench method. This post details how to do that as well as shares lots of pictures to explain the process. This is a great way to get tomatoes sooner in the cooler areas of the country.
Add some aged compost or a handful of fertilizer to the planting hole. A few crushed eggshells will add calcium to the soil and help prevent blossom end rot. Fill the hole with soil, packing the soil gently around the plant. Water well.
A layer of mulch added around the plant will help conserve water. It will also help prevent soil-borne diseases from splashing up on the tomato plant. However, don’t place the mulch up against the plant. Leave a few inches of bare dirt next to the tomato stem.
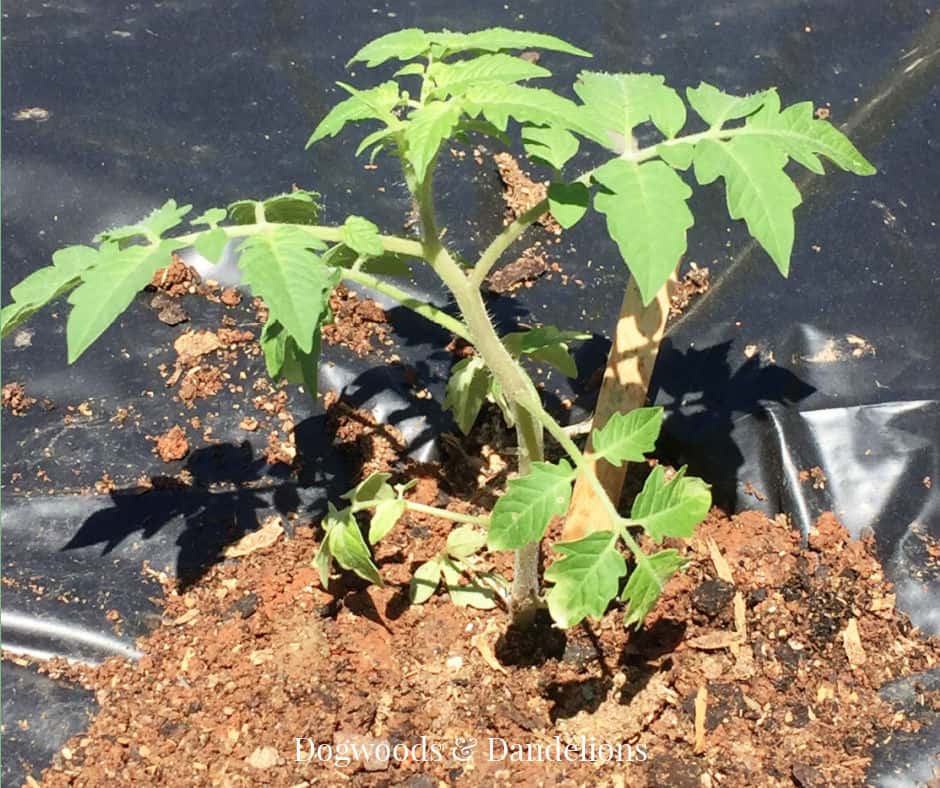
If cutworms are a problem in your area you need to place something near the stem or around the plant to keep the cutworm from cutting off the stem. A stick placed next to the stem works well.
In the photo above the popsicle stick is used to prevent the cutworm from circling the plant and cutting the stem. It should be placed a bit straighter and closer to the stem though.
I have also used a cardboard toilet paper tube placed around the plant and buried an inch or so into the soil to keep the cutworms from getting my plants. This is actually my preferred method now.
Space your tomato plants at least two feet apart in the garden to allow good air circulation and sunlight. Three feet apart is even better if you have the space.
Determinate vs. Indeterminate Tomatoes
Tomatoes come in two types – determinate or indeterminate. Determinate tomatoes will produce a lot of fruit at one time over a period of a few weeks. This type is great for those that want to preserve a lot of tomatoes at one time.
Indeterminate tomatoes generally produce all season long. Therefore the plants keep growing and growing. You should be able to do a quick Google search to find out whether your tomato plants are determinate or indeterminate.
Indeterminate tomatoes will need to be staked, caged, or trellised to prevent them from sprawling all over the ground. However, I prefer to tie up all my tomatoes to prevent problems like soil-borne diseases and damage from bugs and critters.
How to Stake, Cage, or Trellis Tomatoes
There are so many methods you can use to keep your tomato plants off the ground. Staking, caging, and trellising are three of the most common methods.
It is a good idea to go ahead and put your stakes, cages, or trellis in the ground as soon as you plant your tomatoes. Waiting too long to put them up can damage the plant’s roots and stunt their growth when you add them later.
The easiest method to tie up your tomatoes is to purchase tomato cages. Be sure to get ones at least 5 feet tall for indeterminate tomato types. You may also need to add a stake later to help support the cage.
However, you can also stake your tomato plants by tying them up on sturdy posts or trellis your tomatoes by tying them to cattle panels from your local farm store. Grow a Good Life has some great trellis ideas for your tomatoes.
A word of caution: If you are staking your tomatoes, please don’t purchase the cheap plastic coated green poles you see in home and garden centers. They won’t hold up your plants. Spring for the fence posts. Otherwise, you’ll be picking up your tomato plants after every storm.
Should You Prune Your Tomatoes?
To Prune or Not to Prune? That is the Question! Many determinate varieties really don’t need pruning. However, most indeterminate tomatoes will benefit from pruning the suckers.
If you aren’t sure what the suckers are, they are the point between two branches where a new branch grows. Pruning indeterminate tomatoes allows better air circulation among the plant and will allow the plant to put the energy into producing tomatoes instead of new growth.

It’s a good idea to try and prune the suckers every week to 10 days. However, I’m going to be real here…I don’t always get this done. And I usually have loads of tomatoes every year.
My advice is to try it both ways and see what works best in your garden. Remember, everyone’s climate and gardening conditions are different. What works for me, may not be the best for your situation.
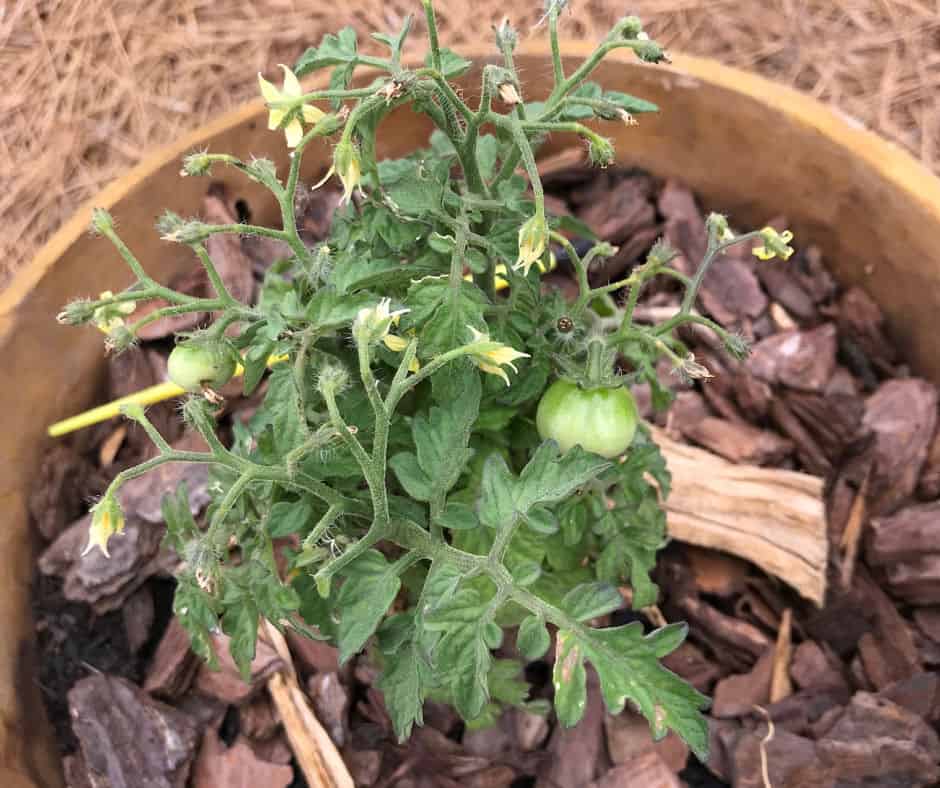
How to Grow Tomatoes in a Container
Tomatoes will grow well in a garden bed or a container. If choosing a container, I recommend a minimum of 10-gallons, especially for indeterminate tomatoes. However, they will do even better in a 15 or 20-gallon container and you won’t have to water as frequently.
Be sure your container has lots of drainage holes in the bottom. I really love these grow bags for container gardening. They are easy to set up and easy to store at the end of the gardening season. I’ve had some I’ve used for several years and they still look great.
The grow bags come in various sizes and most have handles to move the bags if needed. One person can usually move a full 10-gallon bag though you may need 2 people to move the larger ones.
Being able to move your tomato plants where they can get some afternoon shade can help your plants keep producing once the weather gets really hot (90+ degrees).
When planting tomato plants in a container, do not use the trench method I mentioned above. It should only be used for raised beds or in-the-ground gardens. Plant the tomato upright in quality potting soil for best results.
If your potting soil already has fertilizer included, you don’t need to fertilize immediately upon planting. Too much fertilizer will give you all leaves and no fruit.
Check the bag of soil to see how long the fertilizer should last and plan to add additional fertilizer or compost at that time.
Water your plants thoroughly and check daily to be sure the soil is moist. Water as needed. In small containers, this may be as often as every day in hot, dry conditions.
As the Tomato Plants Grow
As the tomato plants grow larger, keep the lower leaves trimmed at least a foot above the soil. This will help prevent some of the soil-borne diseases we will discuss below.
Fertilize regularly according the instructions on your fertilizer package. However, don’t go overboard and think more is better.
Fertilizing too much can cause your tomato plants to produce all leaves and no flowers. No flowers means no tomatoes.
How to Harvest Tomatoes
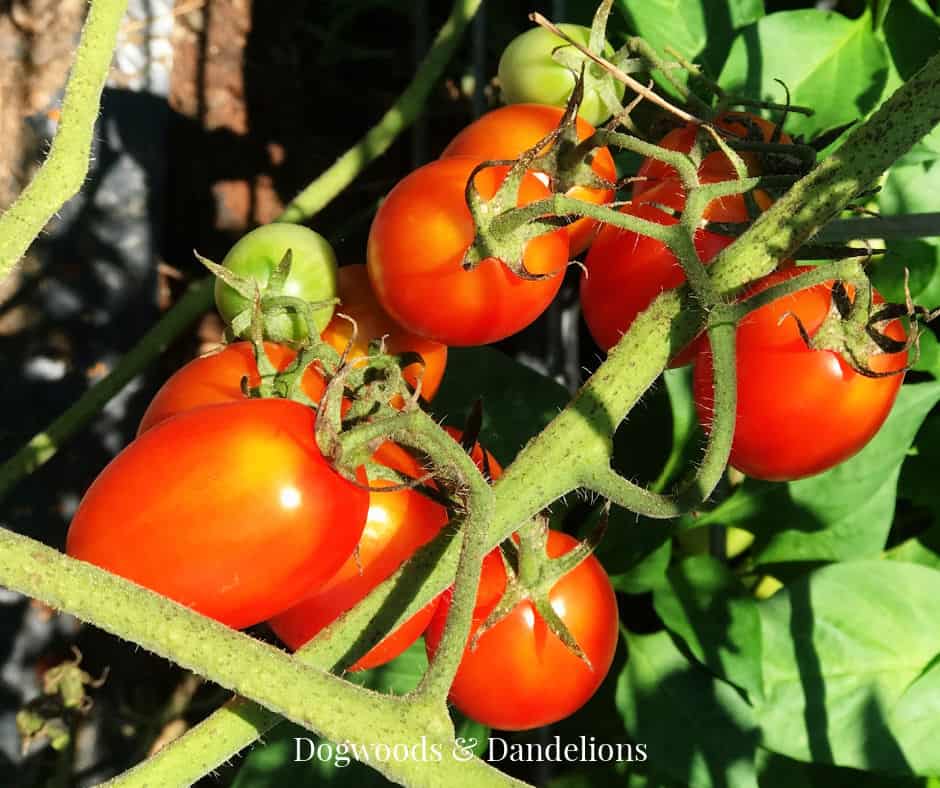
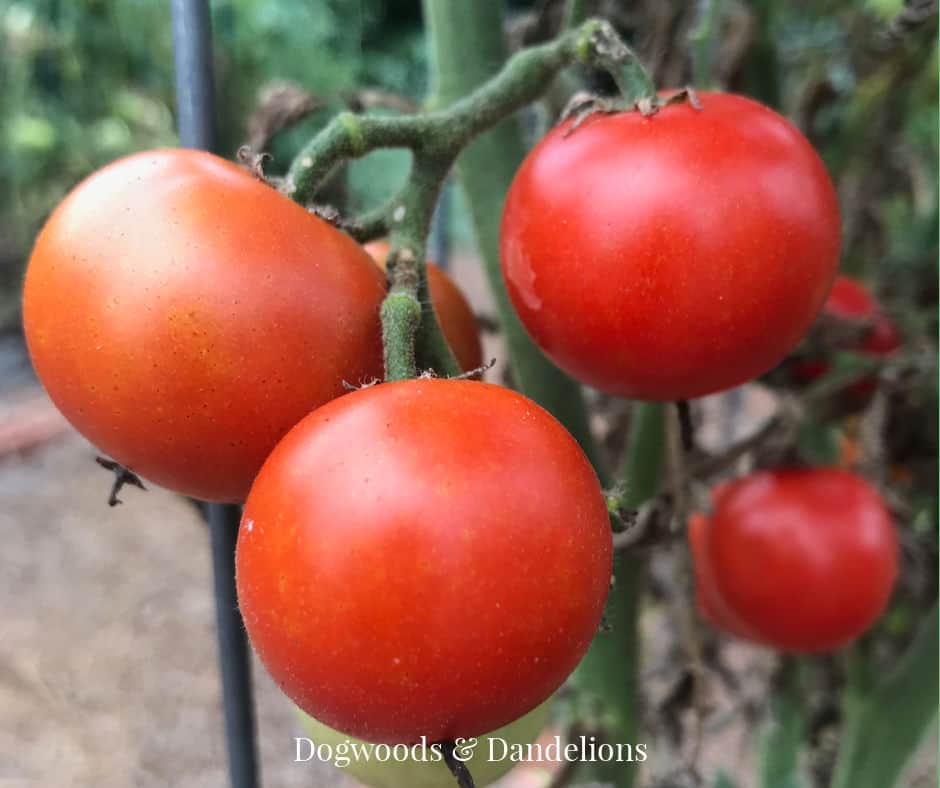
When the tomatoes are firm to the touch but just starting to soften, gently pull them from the plant. If they don’t come off easily, it is best to cut them with a pair of scissors so you don’t damage the plant.
If critters are a problem in your area, you may want to harvest the tomatoes just before they get ripe. They will ripen indoors if harvested a bit early.
For some reason, insects, chipmunks, and squirrels seem to know when the tomatoes are ripe. You want to harvest the fruit before the critters steal it from you.
Tomato Pests
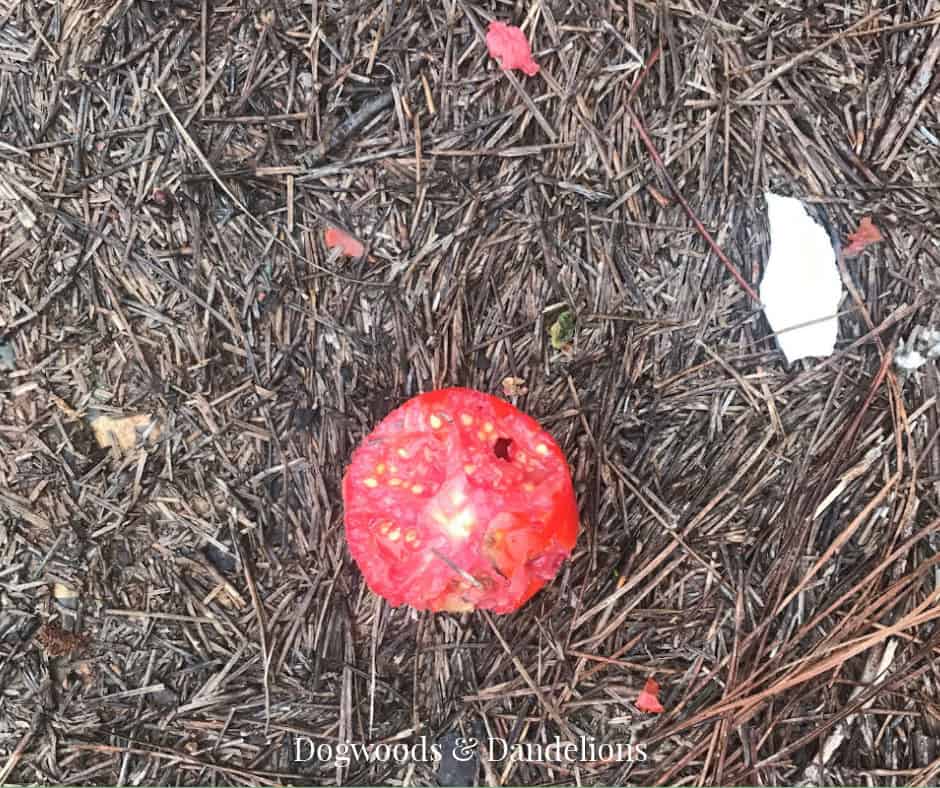
There are lots of pests that like your tomatoes too. Critters like chipmunks and squirrels will steal the tomatoes right off the vine.
One day you will see a perfectly ripe tomato on the vine. The next day when you go to pick it, it will be totally gone without a trace. I’ve even had turtles eat a low-hanging ripe tomato.
Birds will sometimes peck a hole in a perfectly good tomato. Adding a birdbath or water source will sometimes help prevent the birds from stealing bites of your tomatoes.
And then there are the bugs that want your delicious tomatoes. However, when it comes to insects, there are usually some preventative measures you can take to protect your tomatoes.
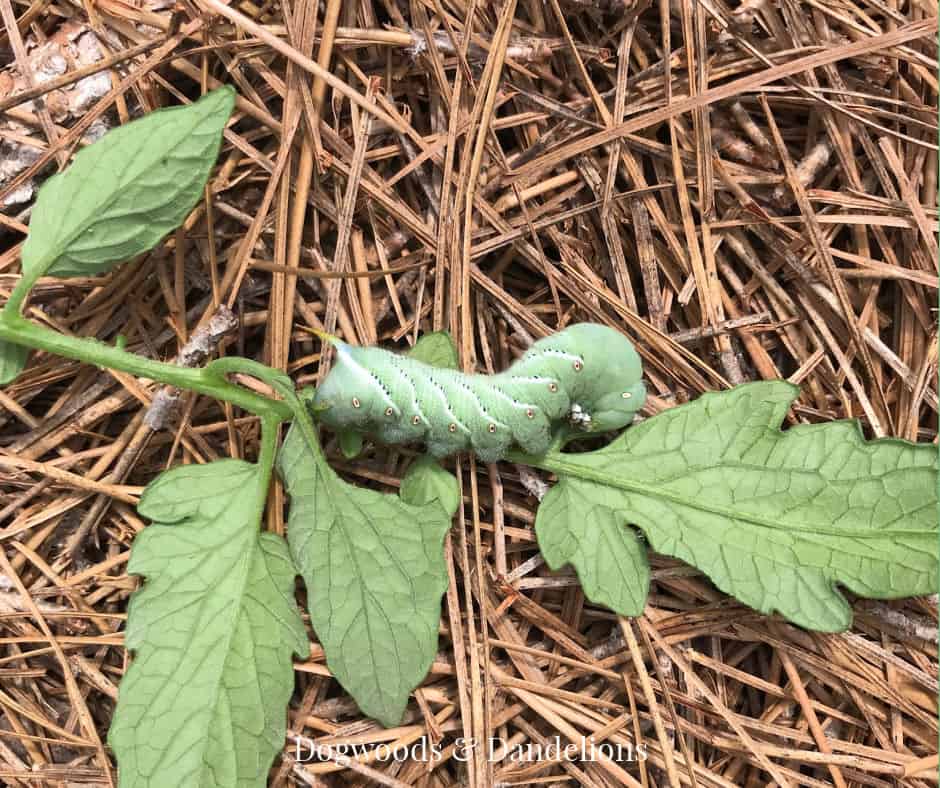
If you notice insect damage, first look to see what insects you are dealing with. Many times, the first line of defense is to handpick the bugs from the plants. If it is something like a tomato hornworm, (shown above) you can just remove the insect and drop it in soapy water.
If you are dealing with something smaller like aphids, whiteflies, or spider mites you can use an insecticidal soap or neem oil to kill the pests.
While these methods are considered organic, I always encourage you to do your own research before using any kind of pesticide or insecticide in your garden.
Tomato Diseases
Unfortunately, tomatoes are often plagued with diseases. Early and late blight, blossom end rot, verticillium wilt, tobacco mosaic virus, and many more. I don’t want to discourage you from growing tomatoes, but I do want you to be prepared.
Since covering all the tomato diseases would make this a really long blog post, I highly recommend you call your local agricultural extension office to find out what diseases are prevalent in your area. This guide from Clemson University can help you identify tomato diseases as well.
Blossom End Rot
I did want to briefly mention blossom end rot because it is very common in home gardens. And while it isn’t really a disease, blossom end rot can ruin your entire harvest of tomatoes.
Blossom end rot can be caused by a variety of factors from lack of calcium in the soil, to too much water, to not enough water. Sometimes it can be difficult to determine the cause.
Prevention is really the best way to deal with blossom end rot. Add some calcium to the soil when planting your tomatoes and mulch the plants. Try to not let the plants get too dry or remain too wet. (I do realize, however, that sometimes, Mother Nature has other plans.)
You can also try a product called Rot Stop. Full disclosure: I have not used this product yet, as I just discovered it this year.
Recommended Varieties
There are so many varieties of tomatoes that it can be hard to choose. I personally like to grow a mix of various varieties. We love cherry tomatoes for snacking and salads, paste tomatoes for canning and dehydrating, and slicing tomatoes for sandwiches and burgers.


I also typically grow a mix of heirloom and hybrid tomatoes. Heirloom tomatoes are wonderful because they generally have more flavor than some of the hybrids. However, especially if you are a new gardener, don’t rule out hybrids.
Hybrids often get a bad rap, but there are many wonderful hybrid varieties suitable for a home garden. They also tend to produce more tomatoes, so if you are limited on space, hybrids may be the way to go.
And many hybrid tomatoes have been bred to provide some disease resistance to many of the common tomato diseases so you may actually have better success with hybrids.
And please remember – Hybrids are not the same as GMOs!
When choosing your tomato varieties, think about your end goal. Do you want tomatoes just to eat in salads? Do you plan to make freezer salsa or can tomatoes for sauce? Or do you just want a big ol’ slab of juicy tomato on white bread (with Duke’s mayonnaise of course!) for a tomato sandwich?
Pick your varieties based on what you plan to do with them. However, if you have the space, there is no harm in choosing some of each variety. I grow all 3 types every year.
Recommended Varieties of Cherry Tomatoes
- Super Sweet 100 – The best red cherry tomato I’ve found. My husband wouldn’t eat raw tomatoes in salads for years. One day I talked him into trying one of these. He will now eat these in a salad, but only if they came from our backyard!
- Sun Gold – A beautiful yellow cherry tomato. These are even sweeter and tastier than the Super Sweet 100’s. This is my all-time favorite tomato for salads. I’ve seen this variety recommended in many gardening groups, so I’m not the only one who loves it.
Recommended Varieties of Paste Tomatoes
Paste types are best for preserving, whether canning, freezing, or dehydrating.
They have less moisture and seeds than slicing tomatoes or cherry types. These are often called Roma tomatoes in the store because that is the name of a popular variety.
- Roma VF – I grow this variety every year because it is consistent and reliable. The VF means it is resistant to Verticillium Wilt and Fusarium Wilt. These plants are fairly compact so this variety can be grown in containers too. It is a determinate variety so it will produce all the tomatoes over a 3-4 week span. Then it can be yanked from the garden in time to plant fall vegetables.
- San Marzano – The standard for canning tomatoes. An indeterminate variety that will produce tomatoes all season long.
- Jersey Devil – An heirloom variety that produces loads of tomatoes shaped like a banana pepper.
Recommended Varieties of Slicing Tomatoes
- Early Girl – I always like to grow one early variety and this is my favorite. While not as flavorful as some of the later varieties, Early Girl is one of the first kinds to produce tomatoes. And in my opinion, any homegrown tomato is better than a store-bought tomato!
- Chef’s Choice Hybrids – The Chef’s Choice varieties come in 6 different colors – yellow, green, orange, black, pink, and of course, red. I grew the pink variety last year and was beyond impressed with the flavor and how well they performed in my garden. All 6 varieties have won the AAS Award (All-America Selections Award). They have heirloom flavor but with a disease resistance package that will please any home gardener. Love, Love, Love these tomatoes!
- Arkansas Traveler – This variety and the Chef’s Choice Pink were the only two tomato varieties to continue producing tomatoes from early summer to frost last year. This variety is bred for hot, humid climates.
- Mountain Merit – This tomato has a fabulous disease resistance package and it resists cracking due to moisture fluctuations. This is a determinate variety but it does get fairly large so it will require staking.
Recommended Varieties for Containers
If you are growing tomatoes in containers, I recommend choosing plants specifically for containers unless you are growing your plants in 20-gallon containers or larger.
You generally won’t have as large a harvest with container-grown tomatoes, but a homegrown tomato is always worth the effort. These varieties all do well in smaller pots.
- Tumbling Tom Series – These cherry tomatoes will spill over the sides of the containers and “trail” or “weep.” There is a red and a yellow variety.
- Red Robin – A dwarf patio cherry tomato that also works well in hanging baskets. Produces a lot of tomatoes for such a small plant.
- Container Choice Red – This slicing variety was bred specifically for containers and will produce 6 to 8 ounce fruits.
My Favorite Heirloom Varieties
I hesitated to even list these, as everyone has their favorite heirloom tomatoes. But since people keep asking this question, I’ll share my personal favorite heirloom varieties.

- Cherokee Purple – A darker reddish-brown tomato with a red interior.
- Brandywine Series – These tomatoes are an old Amish favorite and come in pink, yellow, red, and black varieties.
- Costoluto Genovese – This variety tends to do well in our hot southern summers and keeps producing until fall.
Keep in mind, the varieties I have chosen, do well in my Zone 7 garden in North Carolina. If your climate is vastly different, you may want to contact your local agricultural extension agency as they can advise you on varieties best suited for your area.
Let’s Grow Tomatoes
I hope that learning how to grow tomatoes will help you produce a bumper crop from your backyard or patio garden.
If you have any favorite varieties that you have to grow each year, I would love for you to share them in the comments. Every year I like to try at least one or two new-to-me varieties so share your favorites with me.
Related Posts
- How to Harvest the First Tomato in the Neighborhood – Tips and tricks for an earlier tomato harvest.
- Hybrid vs. Open-Pollinated vs. Heirloom Seeds – Which should you plant?
- What Kind of Tomatoes Should I Grow – A look at how to choose the best tomatoes for your garden.
- How to Freeze Tomatoes