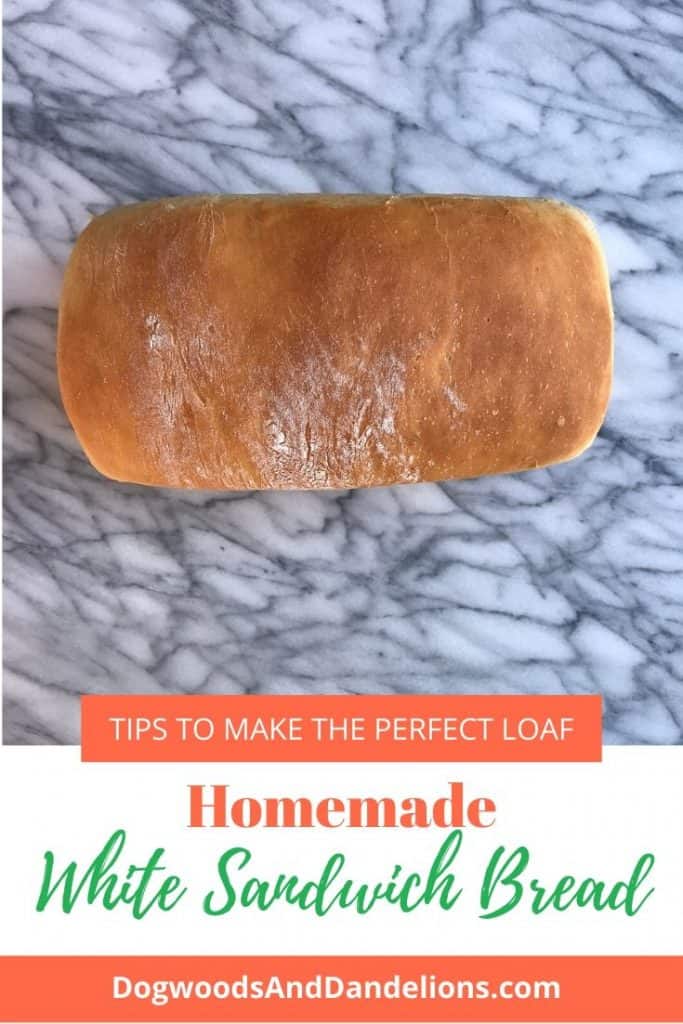
White Sandwich Bread
This easy white sandwich bread recipe can be made in a bread machine or a stand mixer. I’ll share how to make just one loaf or up to 4 loaves, depending on your mixer’s capabilities.
If you’ve been reading my blog for any length of time, you’ve noticed I’ve been on quite the carb kick lately. I’ve shared my recipes for One Hour Yeast Rolls & Sweet Roll Dough as well as my recipe for the easiest cream scones you will ever make.
I’ve been making my own bread now for many years. Store-bought bread often contains lots of ingredients that aren’t really necessary to make a good loaf of bread. Many of these ingredients are designed to keep the loaf of bread from molding or going stale while sitting on the store shelf.
And while I understand not everyone wants to make their own bread all the time (I don’t either), it’s a great project for a cold weekend day. As a bonus, your house will smell amazing while the bread is baking. A loaf of easy homemade white bread makes a great gift too!

Affiliate Disclosure: Please note that some of the links in this article may be affiliate links and I may receive a small commission if you purchase something through a link. It will not change your cost. As an Amazon Associate, I earn from qualifying purchases. For more information, see my disclosures page.)
Making a loaf of bread is actually quite simple. If you have a bread machine, you can dump all the ingredients in the bread machine and let it do the work.
Not everyone has a bread machine though. (But if you are looking for one, this is the one I have and like, though my mom has this one and highly recommends it.) So I’ll show you how to make it with a mixer.
With 3 kids, we go through bread pretty quickly around here. So I make 4 loaves at a time in my Bosch mixer. The instruction manual says you can make 6 loaves, but I don’t have that many pans. I typically freeze the sliced bread and it will stay fresh in the freezer for a month or two. (If it lasts that long!)
A few tips to make this bread recipe easier
For the yeast, I prefer to use an instant yeast I buy in bulk. However, if you only bake bread occasionally, you may prefer to buy the individual packets. I like to use instant yeast so that I don’t have to proof it first. (Even though according to this article by King Arthur flour, you don’t need to proof active dry yeast any more either.)
The recipe for one loaf is designed to be made in a bread machine but it will make one 8 1/2″ x 4 1/2″ loaf pan if you prefer to bake your bread in the oven. If your pan is bigger, you can still use the one loaf recipe, but the loaf will not be as tall.
I absolutely love my loaf pan from USA Pans. The bread just slides right out of the pan with no greasing required. If you are using other pans, I do recommend lightly greasing the pan first. You can use the recipe for two loaves if you are making the bread in a Kitchen Aid Mixer. If you have a Bosch mixer, you can easily make 4 loaves at once like I did.
Hints for slicing your bread
To cut your white sandwich bread, you definitely want to use a serrated knife. However, if you have an electric knife, that will work even better. I bought my electric knife just to slice bread and it is worth every penny. You get more uniform slices and you are much less likely to tear or squish the bread.
Before slicing the bread, be sure it is completely cool, especially if you are going to store it for later. If you cut into the bread while it is warm, the moisture will evaporate, leaving you with a dry loaf. I definitely understand wanting a piece of warm bread with butter on top, but unless you are going to eat the whole loaf immediately, it is better to let it cool. It will also slice much easier.
Storing your homemade white bread
I store my bread in bread bags in the freezer. I allow the bread to cool completely, then slice it. If I won’t be using it all within a month, I double bag it to keep it from going stale. You can pull out just the number of slices you need as the bread thaws quite fast. I don’t store the bread on the counter for more than a day or two because without all those preservatives, it will stale quickly.
If you have any questions about the bread making process, please feel free to leave me a comment below and I’ll be glad to answer them.

This easy white sandwich bread makes a delicious loaf of bread for sandwiches, toast, or grilled cheese!
- 1 cup milk, warmed
- 1 1/2 Tablespoons sugar
- 2 teaspoons yeast
- 1 1/2 Tablespoons butter, melted
- 1 teaspoon salt
- 2 1/2-3 cups all-purpose flour
- 2 cups milk, warmed
- 3 Tablespoons sugar
- 4 teaspoons yeast
- 3 Tablespoons butter, melted
- 2 teaspoons salt
- 5-6 cups all-purpose flour
- 4 cups milk, warmed
- 6 Tablespoons sugar
- 8 teaspoons yeast (2 Tablespoons + 2 teaspoons)
- 6 Tablespoons butter, melted
- 4 teaspoons salt
- 10.5-12 cups all-purpose flour
-
If using a bread machine, add all ingredients for 1 loaf to the bread machine in the order recommended by the manufacturer. Use the regular white bread cycle.
-
Combine milk, sugar, yeast, butter, and salt in bowl of a mixer. Add about 2/3 of the flour (4 cups for small batch, 8 cups for large batch). Mix on low speed until well combined. It may still be a little lumpy. Allow to rest 15 minutes.
-
With mixer running, add remaining flour a little at a time, until dough pulls away from the side of the bowl. It is better to add to little flour than too much,
-
Knead with mixer for 5 minutes. Allow to rise for about an hour or until doubled in size.
-
Punch dough down and remove from bowl. Divide into loaves. Place in greased pans and allow to rise 30-45 minutes or until doubled in size. Bake at 350 for 20-25 minutes or until the loaves sound hollow when tapped.
This recipe is adapted from Don’t Waste The Crumbs.
The downside to making homemade bread
A word of warning: Once you start making bread, you may not be able to stop. Quick story: Several months ago I was very busy and picked up a loaf of store bought sandwich bread. My oldest couldn’t even eat it! He said he would rather learn to make his own bread than eat the purchased bread! Needless to say, he knows how to make make bread now!
Have you ever made homemade sandwich bread? If not, what’s stopping you?
Other Bread Recipes You May Enjoy
- One Hour Yeast Rolls – plain or garlic butter versions
- Sweet Roll Dough – Use this sweet roll dough to make cinnamon rolls or any other type of sweet roll.
- Easy Cream Scones – These drop scones mix up so quickly you can make them on a school morning!


I would love to use this recipe and make the 6 loaves but do you have a convection oven temp and time conversion. I will be using a commercial propane convection oven. Please and Thank you
I don’t have a convection oven so I’ve never baked bread in one. However, I did find several sources online that said to either reduce the temperature by 25 degrees or reduce the bake time by 25%. So I would try lowering the temperature to 325 degrees and keeping a close eye on the bread the first time you bake it. (I would also only bake one loaf at first to test it.) I would check it at about 18 minutes and see if it is done. If not, bake it a minute or two more. I hope it works out for you.