Testing Your Garden Soil
Would you like to grow your best garden ever? If you’re starting a new garden or if you’ve been gardening in raised beds for a while, it is probably a good idea to test your garden soil to see what kind of nutrients you need to add. I’m going to walk you through the ins and outs of testing your garden soil, from how to do it to what you may need to add so you can grow your best garden yet!
Affiliate Disclosure: Please note that some of the links in this article may be affiliate links and I may receive a small commission if you purchase something through a link. It will not change your cost. As an Amazon Associate, I earn from qualifying purchases. For more information, see my disclosures page.)
Why test your soil?
The secret to a good garden is good soil. You can plant the best varieties of produce and tend your garden faithfully, but if the soil is poor, you won’t have the best results from your garden.
Testing your garden soil allows you to determine what amendments need to be added to produce an ideal environment to grow your fruits and veggies. You can test for pH as well as Phosphorus, Potassium, and sometimes other trace nutrients.
Another reason to test your garden soil is to keep you from applying too much fertilizer. Applying to much fertilizer is not good for your wallet or the environment. Excess runs off when it rains and can damage the eco-system and our waterways. Too much fertilizer can also burn your plants if you apply too much or the wrong type is used.
The best time to test your soil is in the fall or early spring so that you have time to add amendments before you start planting. So if your ground is not frozen solid or under snow cover, this is a great garden chore to do during the winter.

What a soil test checks for
pH
You soil can either be alkaline, acidic, or neutral. Most vegetables do best with neutral soil, though some plants (such as blueberries and azaleas) prefer more acidic soil. pH is measured on a scale of 1-14 with 7.0 being considered neutral. Above 7 is considered alkaline or “sweet” and below 7 is considered acidic or “sour.” Generally, a pH of 6.2 to 7.2 is considered acceptable for gardening.
Nitrogen (N), Phosphorus (P), Potassium (K)
A soil test also usually tests for Phosphorus (P), and Potassium (K) in your garden. Along with Nitrogen (N) these are the three numbers you usually see on a bag of fertilizer. These numbers are typically displayed as 10-10-10 and it just means that 10% of the product is Nitrogen, 10% is Phosphorus, and 10% is Potassium. (For more information on fertilizer, you can read this post on Pennington’s website.)
If you send off your sample to a lab, they will sometimes test for other nutrients such as
- Secondary nutrients: sulfur, calcium, magnesium
- Minor nutrients: iron, manganese, copper, zinc, boron, molybdenum, chlorine
Most soil tests do NOT test for Nitrogen (N) because it does not persist long in the soil.
How to collect your sample
To collect your soil sample, you need to gather:
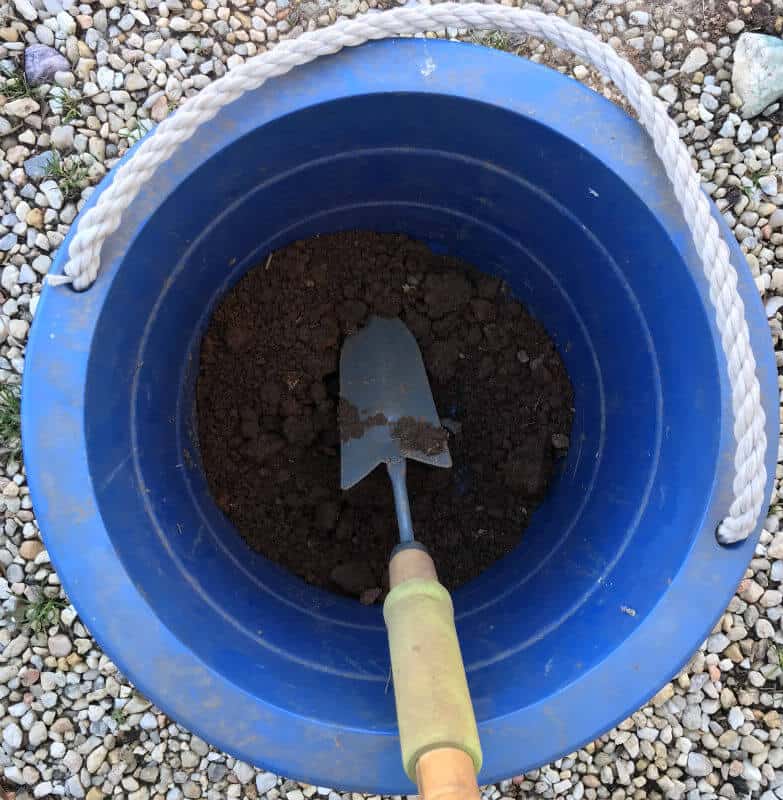
- a clean bucket
- a clean trowel
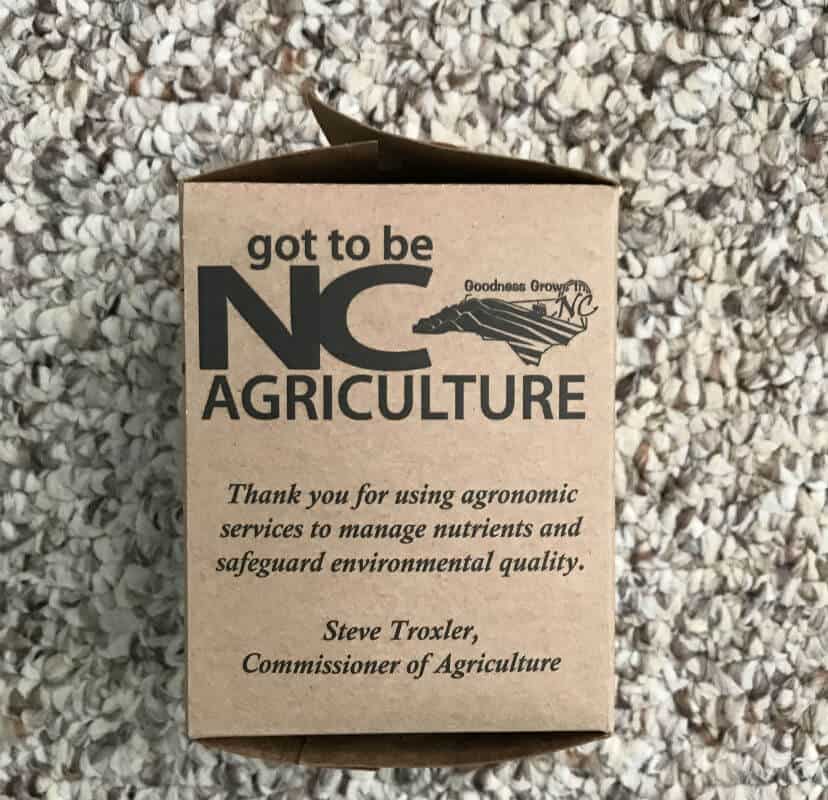
- something to put your sample in to send off to the lab-A small cardboard box or clean plastic container can be used to put your sample in (Some labs also say a plastic bag can be used. Check with your lab. In North Carolina, plastic bags are not allowed.)
You will actually be taking dirt samples from at least 5 different holes in your gardening area. This is so you don’t get a false reading if you happen to have one area that differs greatly from the others.
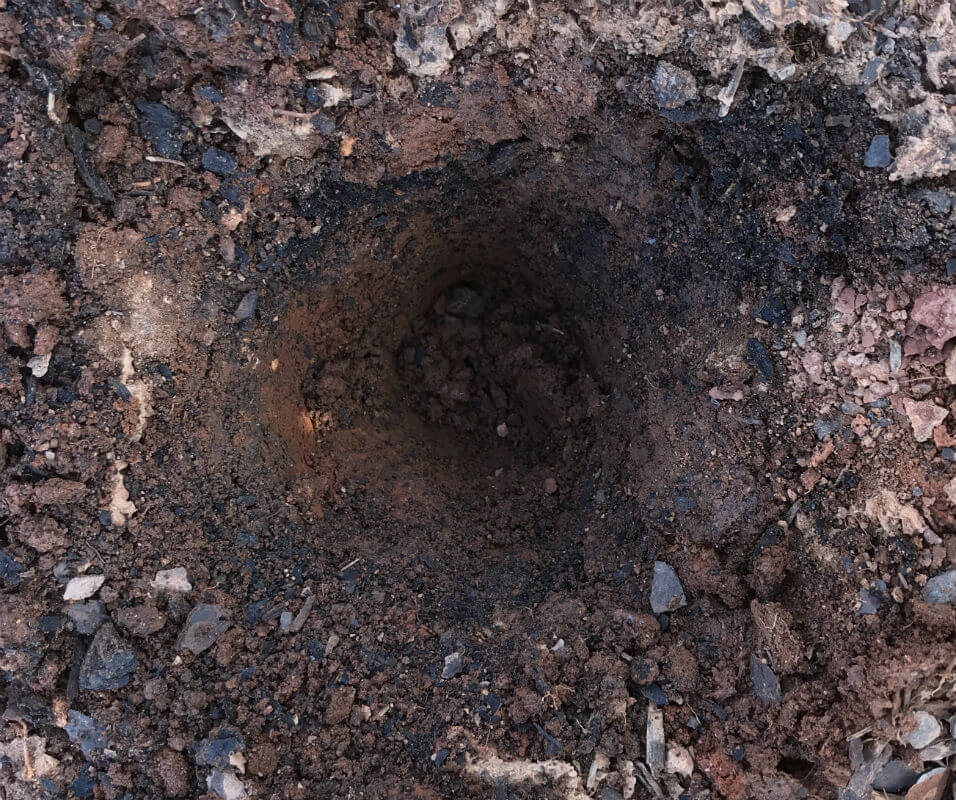
Dig 5 holes in various areas of your garden. The holes should be 6 to 8″ deep. Take a small section of dirt from each hole. Place each section of dirt in the bucket. When you have at least 5 samples, mix them together.
Place the necessary amount of soil in the container. This varies from lab to lab but usually the website will tell you how much is needed. Package it according to the lab’s directions and mail it off with any necessary fees.
It usually takes at least two weeks to get your results. Many labs nowadays will allow you to check the results online. The soil testing report will usually explain what deficiencies your soil has and how to amend the soil. (But in case they don’t, keep reading for some general suggestions.)
Sending your sample off to a lab
To determine where to send your sample, search for your state + soil testing. In North Carolina, you can find all the information you need right here. You can also search for your local agricultural extension service and they can give you more advice on where and how to submit your samples.
Here in North Carolina, the soil test is free if you submit it in April-October. Because so many others are testing their soil in November to March, you have to pay a $4 “peak season” fee. This is still a reasonable cost to understand what your soil is lacking.
Testing your garden soil yourself
While not the most reliable method, testing your garden soil yourself is better than nothing. There are several types of soil testing kits that you can purchase. These kits have complete instructions inside each one, so I’m not going to explain it all here. After following the directions, you should be able to compare the results to some sort of key to figure out what your soil needs.
You may have also seen soil testing information online describing how to gather soil and mix it with various household ingredients to determine your type of soil. Many of these methods only tell you the pH of your soil which is only part of the picture. And most of these methods aren’t very reliable either. I would stick to a store-bought soil test kit at the bare minimum.
How to amend your soil
If you send your soil to a lab, your soil testing report will usually suggest how to amend your soil. If you purchased a soil test kit, it may not. Here are a few suggestions of how to improve your soil based on your soil testing results.
If your soil is determined to be acidic (pH below 7.0), the best thing to add is garden lime also called limestone. It also happens to be a good source of magnesium and calcium, both of which are necessary for good plant growth.
If your soil is alkaline (pH above 7.0) you can purchase soil acidifier which should help improve the pH of your dirt. Alkaline soil can cause problems because it limits the ability of your plants to absorb nutrients. So even if you add fertilizer, it oftentimes won’t be taken up by the plants roots in alkaline soil.
If soil testing reveals your soil is terrible
If your soil test reveals your soil is really poor, it may be much easier to install raised beds than to adjust the nutrients in the soil. Correcting poor soil is not a one time thing. It can take years of testing and proper application of fertilizers and nutrients to correct problem soil.
When you garden in raised beds, you add good soil from the beginning so your garden gets off to a good start. And when growing vegetables, a lot of your success or failure will depend on soil quality.
Have you ever tested your garden soil? If so, was it difficult to correct?
And if you want to save this, I would appreciate if you would pin it for later! Thanks so much!
Related Posts
- How To Start A Compost Pile In Your Backyard
- How To Understand A Seed Catalog
- Choosing The Vegetables To Grow In Your Garden
