Review of Sainlogic SA9 Weather Station
Inside: The pros and cons of the Sainlogic Weather Station SA9 and why I feel it is one of the best weather stations on the market.
Disclosure: I was gifted a Sainlogic Weather Station in exchange for my review. All opinions are my own.
Living on a farm, knowing how much rain you get and the day’s high and low temperatures is important to crop management. But even if you just have a backyard garden or a few containers of flowers, knowing how much rain you receive can help you decide whether or not you need to water.
And knowing the day’s temperatures can help you decide what to wear. You don’t want to be the parent who sends their child to school in shorts and no coat if the weather has suddenly turned colder. (Believe me, I’ve seen it many times!)

Affiliate Disclosure: Please note that some of the links in this article may be affiliate links and I may receive a small commission if you purchase something through a link. It will not change your cost. As an Amazon Associate, I earn from qualifying purchases. For more information, see my disclosures page.)
That’s why I was so excited when Sainlogic reached out to me about reviewing a weather station. They sent me the SA9 model to test out for you.
I also already owned an older model of a Davis Vantage Vue weather station, so this review will naturally make a few comparisons between the two. I can’t speak to whether Davis has upgraded their weather station, so this review will be based on my old model, which is likely 6-8 years old.
Unboxing the SA9 Sainlogic Weather Station
Upon opening the box, I was pleasantly surprised to find that the majority of the weather station was already put together. It did not come with lots of components to assemble, which made it easy to get it up and running quickly.
I remember my Davis weather station taking quite a bit of time to put together, and I was frustrated frequently trying to get the parts together properly.
The User Manual
The user manual that came with the Sainlogic weather station made it easy to install the few remaining parts that needed to be assembled. It also gave helpful hints as to proper locations to install the weather station to avoid heat transfer from buildings and ways to avoid things that would influence wind speed and rainfall measurements.

Installing the Weather Station
Installing the outdoor portion of the weather station was pretty simple. At the time, we had to use a simple metal post as the wooden post we had intended to put it on wasn’t level.
I would advise, if at all possible, to have a second person helping when installing the outdoor sensor, because it certainly made it easier with 4 hands.
You want to ensure the rain gauge is level to get an accurate total, and the SA9 includes a small bubble level next to the rain gauge. However, you will need a ladder to see it when installing the sensor above head height. You can also use a standard level for easier viewing.
The Display
What I love most about the SA9 weather station is the indoor display. It has an easy-to-read, 8.15-inch HD Color LCD Display that is bright and colorful and can be seen from across the room.
The display console has many different features that it displays. It tells the moon phases, outdoor and indoor temperatures, barometric pressure, rainfall, dew point, wind direction, and the “feels like” temperature. I like that these are all displayed on one screen. And this is just a few of the data points to get on ONE SCREEN!
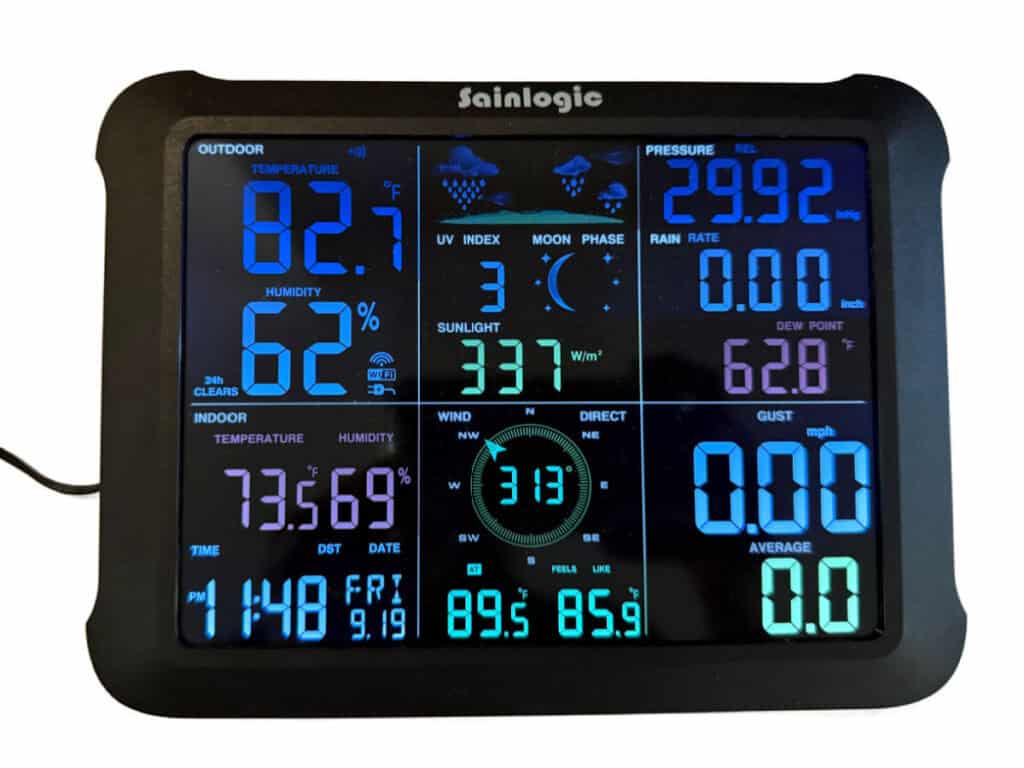
With my Davis weather station, you have to click through several screens to gather all that data. This makes the Sainlogic SA9’s display superior to my Davis weather station.
It did take a few tries for me to get the display up and running, but I think this was partially due to user error on my part. I accidentally hit several of the buttons while putting in the batteries, and the manual clearly states that this can affect the connection with the remote sensor.
Connecting to the Weatherseed App
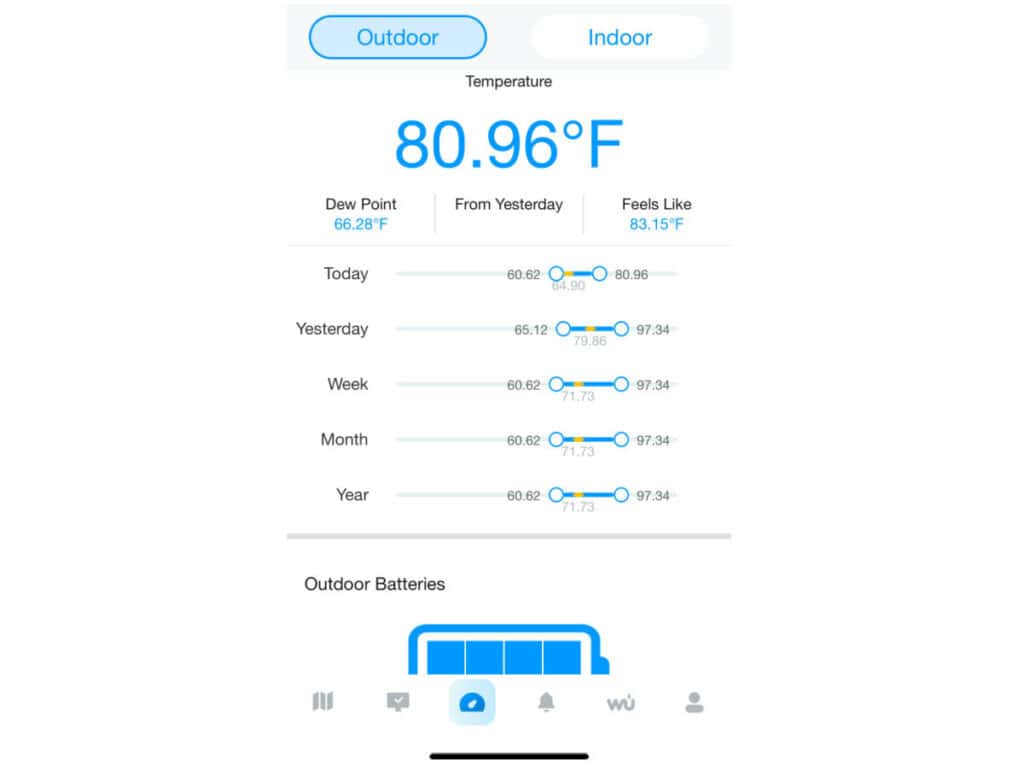
The Sainlogic SA9 also has the ability to connect to the Weatherseed app. This allows you to check the weather at your house from anywhere.
Connecting to the app was quite easy, as each unit has a QR code on the back that you can scan during the setup process. You can connect via Bluetooth or over wi-fi. Within minutes, I was able to see all the weather data from my sensor.


This is great for monitoring the weather while at work or when you go on vacation. It makes it easy to keep up with the amount of rainfall so that I know if I need to send my family over to water my garden.
The Weatherseed App displays real-time data and 24-hour & 7-day forecasts, can support different Sainlogic Weather Stations, has the ability to export weekly and monthly data, and you can set alarms and notifications for high/low temperatures and rainfall, as well as humidity and many other data factors.
The weather station is also compatible with Weather Underground.
Accuracy of the Weather Station
Being a family of farmers, we are always comparing the accuracy of our weather stations. (Our family all lives close.) The Sainlogic SA9 has consistently been accurate with my Davis weather station as well as the other members of my family on temperature, wind speed, wind direction, and humidity.
We haven’t had any rain in over 2 weeks, so I have not been able to test the rain gauge yet. I will update the post once we have some rain showers.
Final Thoughts
I am loving the Sainlogic SA9 Weather Station. The price point is well below the cost of my Davis model, and it seems to have the same features I use on my Davis weather station console. The display is so much better, easier to read, and the data is all on one screen.
Interested in purchasing a Sainlogic SA9 for yourself? You can purchase it through one of the links below.
- Sainlogic SA9 Weather Station on Amazon or
- Sainlogic SA9 through Sainlogic’s website. When purchasing through this link, use code DAndD to receive 30% off at checkout.