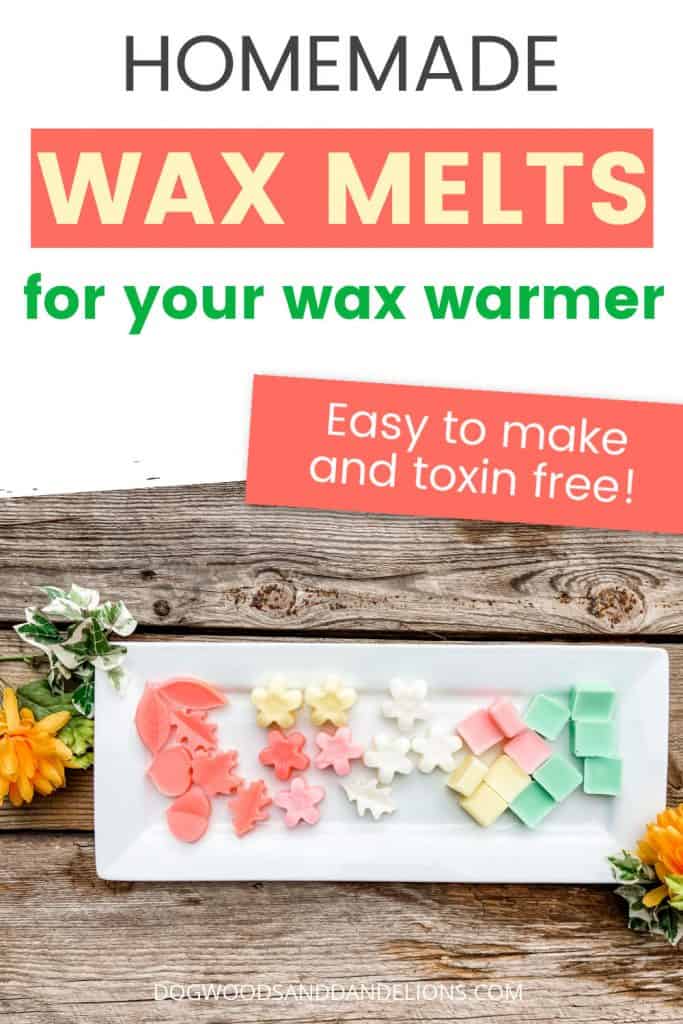
Homemade Wax Melts
Inside: These easy homemade wax melts can be made in just a few minutes with only 3 ingredients.
I’ve always loved making my home smell nice with the scents of the season. And I love the beautiful wax melt warmers and the ambiance they give.
What I don’t like, however, is the toxins commercial wax melts spew into the air from the chemical scents in the fragrance oils or the paraffin wax.
Wax melts tend to be safer than candles too. With no open flame to worry about, I’m much more comfortable using wax warmers around young children.
On the quest to do it myself, I discovered that homemade wax melts aren’t really that difficult to make. I’ve been making my own candles for years, so why not make my own wax melts?
The process of making diy wax melts isn’t much different. So I dusted off my trusty wax melt warmer and did a few experiments in the kitchen.
Affiliate Disclosure: Please note that some of the links in this article may be affiliate links and I may receive a small commission if you purchase something through a link. It will not change your cost. As an Amazon Associate, I earn from qualifying purchases. For more information, see my disclosures page.)
What Is The Best Wax To Use For Making Homemade Wax Melts?
When making homemade scented wax melts, you have several choices for the type of wax to use. The purest is beeswax, but it can be expensive. Natural soy wax is also safe for candles and wax melts and is a good bit cheaper. (I save my beeswax for lotion bars and lip balm that I am putting ON my skin.)
What Can You Use For Molds For Homemade Wax Melts
You have so many choices when making homemade wax melts. If you usually pour the wax back into the mold, I recommend using these molds similar to the clamshell molds the store-bought ones come in. If you have the containers from melts you have purchased, you can re-use those too.
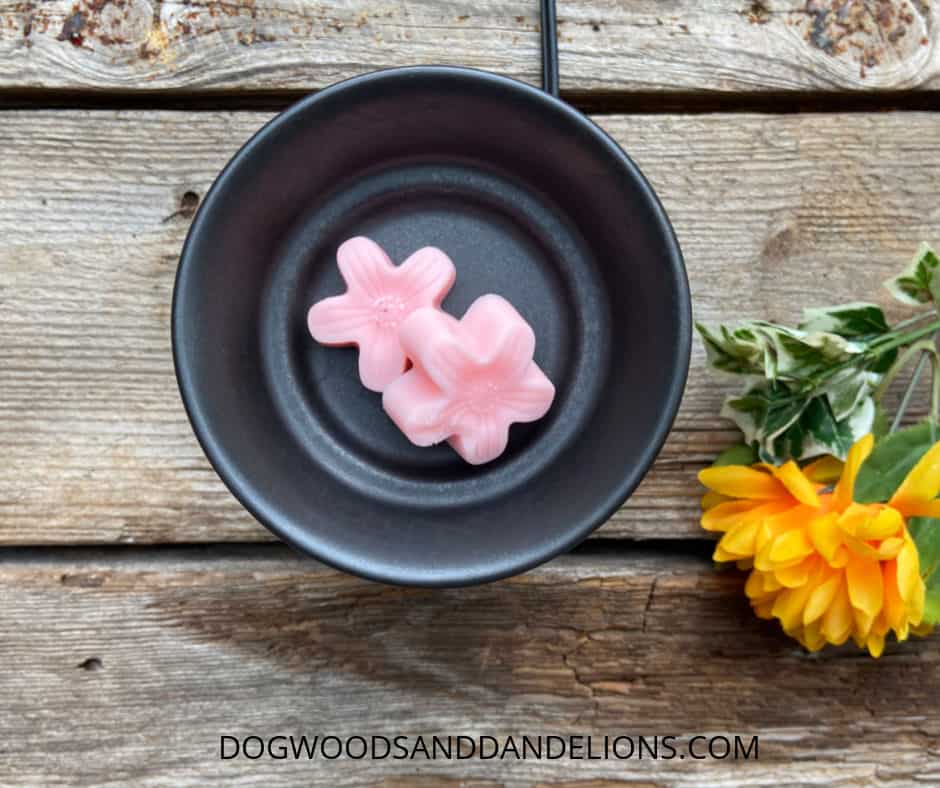
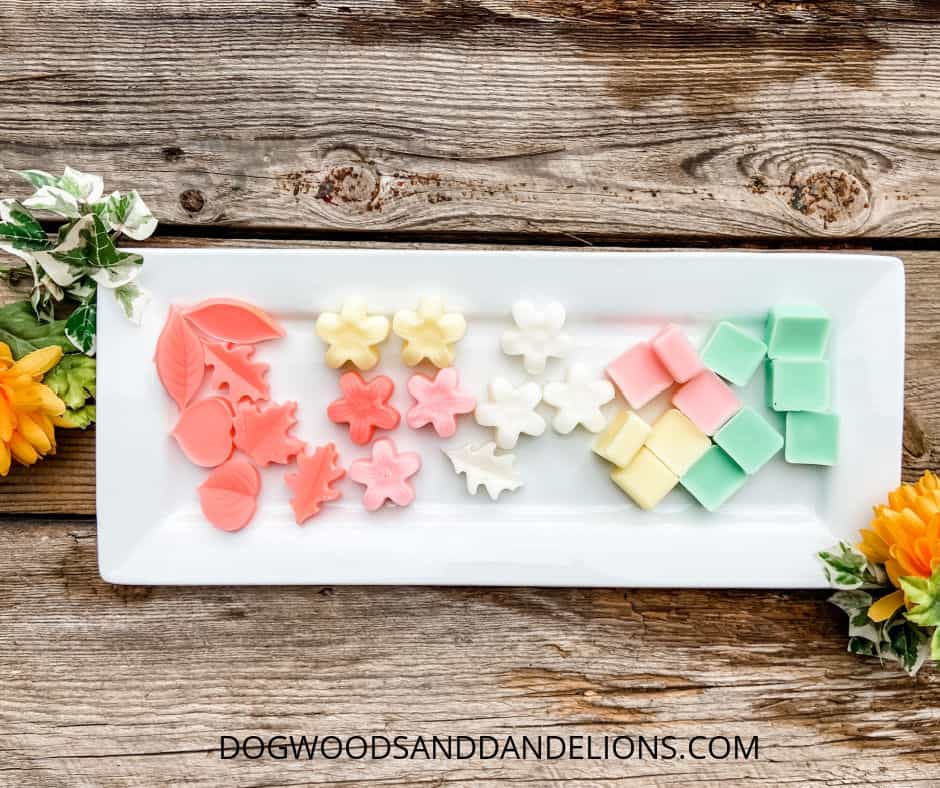
There are also many wax melt molds that can be used too. One of my favorites is this set of floral molds. Amazon has many different molds to choose from too.
Many times you can even find silicone molds in the candy aisle of your grocery store. I just wouldn’t use the ones for gummies though. They are a bit too small for wax melts.
How Do You Make Homemade Scented Wax Melts?
Making scented wax melts is quite simple. You simply melt wax and oil together and add in your essential oils. Pour into molds and allow to cool. I’ve included step-by-step directions in the printable below.
If you want to color your homemade wax melts, you have several options. I first tried mica, like you would use in soap making. This was the most natural option, but it didn’t mix in very well. As you might expect the mica tended to settle out of the oils. (But I tried it anyway.)
I also thought about food coloring, but it won’t mix with the oils since it is water-soluble.
The easiest option would be to purchase candle color dye. Candle color dye is generally made from soy wax also, so it is safe for both regular candles and wax melts. However, double-check your product to be sure you are comfortable with the ingredients.
You can also infuse your soy wax with natural colors like spirulina, annatto seeds, madder root, or alkanet. This process takes about 24 hours because the wax must be warm enough to remain melted to extract the color from the herbs and seeds. But if you want the most natural wax melts, this is the way to go.
I have also heard of using crayons to dye your wax melts. This idea seemed appealing to me at first. We have lots of old crayons lying around the house.
However, a quick Google search led me to discover that crayons are made out of paraffin, one of the ingredients I’m trying to avoid by making my own melts. I personally would stick with the candle color dye or leave them white.
Homemade Wax Melts Recipe
I’ve shared the wax melt recipe in a printable format at the bottom of the post. Below the recipe, I share some troubleshooting tips to help you if you run into trouble and my favorite essential oil combinations.
Ingredients for Homemade Wax Melts
- 1 cup soy wax flakes or beeswax, cut into small pieces if necessary
- 1/4 cup coconut oil
- 30 – 100 drops of essential oil of your choice (See below for some recommendations.)
- candle dye for coloring, optional
Directions
Create a makeshift double boiler by placing a glass bowl or Pyrex container inside a small pot filled with about 2 inches of water. Be sure the water will not splash into the container.
Put the soy wax (or beeswax) and the coconut oil in the top of your double boiler. Turn the pot on and bring the water to a simmer.
Watching carefully, and stirring often, melt the coconut oil and the wax together. When fully melted remove from the heat.
Add the 30 – 50 drops of essential oils and the candle dye if using. Stir. Immediately pour the melted wax into the clamshell or silicone mold. (Always be very careful using hot wax. Molten wax can cause burns.)
Allow the wax to cool for at least an hour. When fully cool, pop wax melts out and store them in a cool, dark place in an airtight container. (I like to store mine in a mason jar.)
You’ve just made your own wax cubes with natural ingredients that can be used in any electric wax warmer.
Cleaning Up
To quickly clean up your pot and spoons, wipe out the warm wax with a paper towel. Then wash all dishes in hot soapy water.
Troubleshooting
If you are having difficulty removing the wax melts from the mold, pop them in the freezer for about 30 minutes. They should remove easily after that.
If your wax melts are melting too slowly in your wax warmer, your warmer may not get very warm. You can remelt the mixture and increase the amount of coconut oil by another 1-2 Tablespoons.
If the scent starts to fade after a while, you can recharge it by adding more essential oils. To prevent odd scents, I would add the same oils you added when you made them the first time.
Favorite Scent Combinations For DIY Wax Melts
If you want some different scents for your homemade wax tart cubes, try some of these pre-made blends or mix up some of the ones listed below. I always prefer to use natural essential oils, but you can use fragrance oils if you prefer.
Pre-Mixed Blends
You can purchase many combinations of scented wax melts that are already pre-mixed. I personally love the Plant Therapy brand. They have many different combinations for the seasons.
I’ve listed some of my favorites below. You can order through Amazon, but you can also order directly through Plant Therapy and get free shipping.
Fall
Christmas/Winter
- Christmas Tree – This is my favorite Christmas scent. It smells just like a Christmas Tree. Perfect if you have an artificial tree.
Year ‘Round
- Honeybell
- Tension Relief – this is the best essential oil for headaches
Favorite DIY Blends
Many of these blends can be mixed up with essential oils you already have on hand.
Fall Breeze
- 30 drops orange
- 20 drops cinnamon
- 10 drop clove
Apple Pie
- 30 drops cinnamon
- 10 drops nutmeg
- 10 drops cardamom
- 8 drops ginger
Snowy Forest
- 25 drops peppermint
- 25 drops blue spruce
- 15 drops pine
- 15 drops vanilla
Summer Breeze
- 30 drops tangerine
- 20 drops bergamot
- 10 drops peppermint
- 10 drops spearmint
Floral Bouquet
- 20 drops lavender
- 20 drops geranium
- 20 drops orange
- 10 drops clary sage
Joy
- 20 drops frankincense
- 20 drops bergamot
- 20 drops lemon
Fresh Linen
- 20 drops eucalyptus
- 20 drops lemon
- 10 drops lavender
- 10 drops tea tree
- 10 drops peppermint
How To Package Your Wax Melts For Gifts
There are some really cute ways to package your homemade wax melts for gift giving. The easiest way is in clear cellophane bags tied with a pretty ribbon and a gift tag.
However, if you want to get a little fancier, you can use these cute paper bags with a clear window. Another option is small mason jars. When packaging, be sure to wrap each scent separately. Otherwise, the essential oils will mingle and they will all end up smelling exactly the same.
Wax Warmers
If you also want to give a wax warmer as a gift (or just need a new one for yourself) I found some really cute ones online.
- This one would cast a beautiful, almost starry glow in your house.
- This wax warmer is perfect for a more contemporary home.
- For a farmhouse feel, try this wax warmer.
For a lovely gift for Christmas or really any time, package up a new wax warmer with some homemade essential oil wax melts. These would be perfect for the Mom who wants her house to smell like Christmas but doesn’t want to worry about the fire risk from candles.
Other DIY Projects You May Enjoy
- Coffee Exfoliating Soap
- Homemade Candles
- Homemade Lip Balm
- Whipped Body Butter
- Stenciled Flour Sack Towels

Meet Julie
I’m a farm girl born and bred in North Carolina. I’ve been growing a vegetable garden for over 20 years (and helping my Mom grow hers even longer). I’ve been raising chickens in my bathtub and backyard for 12+ years. I believe that homegrown food can be made simple. Let’s get started.

Homemade Wax Melts
Ingredients
- 1 cup soy wax or beeswax
- 1/4 cup coconut oil
- 30-100 drops essential oils
- candle dye for coloring, optional
Instructions
- Create a makeshift double boiler by placing a glass pyrex container or bowl inside a pot filled with about 2 inches of water. Be sure the water will not splash into the container.
- Put the soy wax (or beeswax) and the coconut oil in the top of your double boiler. Turn the pot on and bring the water to a simmer.
- Watching carefully, and stirring often, melt the coconut oil and the wax together. When fully melted remove from the heat.
- Add essential oils and candle dye if using. Stir. Immediately pour into molds. Allow to cool at least an hour. When fully cool, pop wax melts out and store in a cool dry place.
Hi! So the coconut oil is to just help it melt faster? What happens if you leave it out, will the beeswax not melt or just take a long time? I live in Arizona and would like to make some to ship to friends. I’m concerned that adding coconut oil might cause them to melt during shipping. What do you think?
While I’ve never tried wax melts without the coconut oil, I would think it would take an extremely long time for the beeswax to melt, especially over the low heat of a wax burner. But you could definitely try it. It would still probably release some of the scent even if it didn’t fully melt.
I have always wanted to make these thank you 😊
You’re welcome! I hope they turn out great for you. These wax melts are a fun little project to do on a rainy day.
Can you use a crock pot rather than stove top?
I haven’t tried making the wax melts in a slow cooker, but I “think” it would work. If you give it a try, please let us know how it turns out.
How many shaped melts were you able to make with one batch?
It really depends on the size of your molds, but I was able to get all those you see in the picture plus about 10 more from one batch. Hope that helps.
I really like your way of doing it! but is it possible to replace the coconut with another oil?
While I haven’t tried any other oils, I think you could substitute another oil without any problems. I would probably choose a liquid oil like grapeseed or olive oil and I would probably only use 3 Tablespoons since it would already be liquid. I would love to know how it works if you try it.
Can you a different oil other than coconut oil I’m allergic to coconut
You could probably use another oil, but I would add a bit of additional beeswax to the mixture to firm it up a bit. Though I haven’t tried it (yet) I’ve seen a mixture of soy wax and beeswax used to make homemade wax melts also. I would try about 2 ounces of soy wax to 1/2 ounce of beeswax. Remember, if you don’t like the consistency, just melt it down again and add more oil to make it softer or more beeswax to firm it up. I hope this helps. If you do try something different, I would love to hear how it turned out.