The Best Canning and Preserving Supplies
Inside: Learn the best canning and preserving supplies you need to put up your garden harvest.
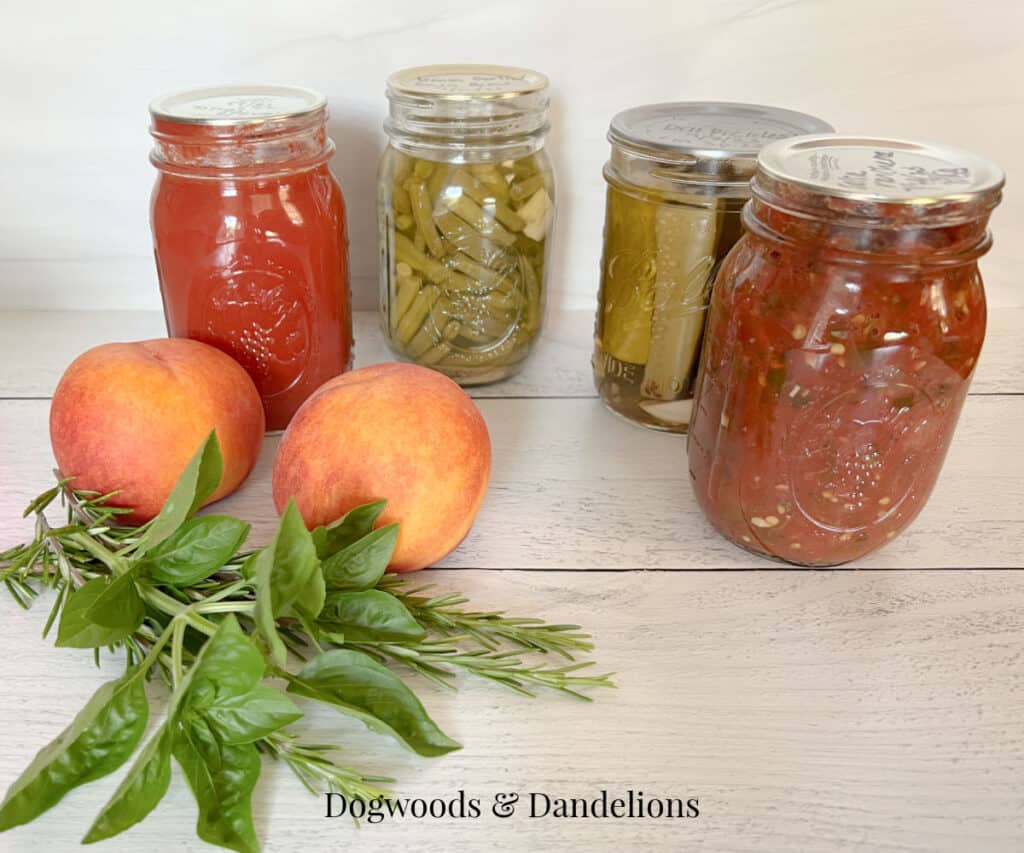
If you want to preserve some homegrown produce this summer, there are some canning and preserving supplies you need. Depending on what you are preserving, you may need either a water bath canner or a pressure canner.
I also want to preface this post by saying that some of these items are becoming difficult to find. It seems more and more people are canning and preserving this summer. I think that is great and hopefully the demand for supplies will catch up soon.
Affiliate Disclosure: Please note that some of the links in this article may be affiliate links and I may receive a small commission if you purchase something through a link. It will not change your cost. As an Amazon Associate, I earn from qualifying purchases. For more information, see my disclosures page.)
Freezer Supplies
Usually the first way people start to preserve their own food is by freezing. It is simple, easy, and low cost. You also don’t need many supplies to get started. Usually a few freezer bags and a sharpie are all you need to get started.
If you want to make freezer jam, you will also need pectin and some freezer containers to store your jam. You can also use straight sided canning jars in the freezer as well.
Canning Supplies
There are two types of canners-water bath and pressure canning. You can use a pressure canner as a water bath canner but you can NOT use a water bath canner as a pressure canner. I always, always, always, advocate using TESTED canning recipes.
I do not recommend using Grandma’s canning recipes unless they have been tested by a reliable source (such as the National Center For Home Preservation or you local agricultural extension office.)
Just because Grandma didn’t poison her family, doesn’t mean it is safe. The Prairie Homestead has more information on the importance of canning safety.
Just the other day, I saw a post in a gardening forum where someone “canned” tomatoes without actually processing them. She cooked the tomatoes, placed them in jars, and turned the jars upside down to seal. This is NOT SAFE!!!
While, yes, the jars will seal, the air inside the jar was not removed so they would not be safe to eat. I can not stress enough the importance of using TESTED canning recipes.
This post is NOT a tutorial on the proper canning techniques. If you are new to canning and preserving and need more information on proper canning techniques, check out the National Center for Home Food Preservation or pick up a copy of the Ball Blue Book Guide To Preserving.
Water Bath Canning Supplies
If you are only planning on canning jams, jellies, pickles, and high acid foods such as tomatoes and fruits, you only need a water bath canner. For meats and most vegetables that you aren’t pickling you must use a pressure canner. (See below.)
A water bath canner usually comes with 3 pieces- a large pot, a lid, and a rack. Basically they are large stock pots. You may even have a stock pot at home that will work if you purchase a rack that will fit down in it. (You need a rack to keep the jars off the bottom of the canner.)
This water bath canner could also be used as a stock pot at other times. But if you prefer the more traditional look, this Granite Ware Covered Canner will definitely get the job done.
However, if you have any interest in preserving vegetables, meat, or stock, plan to purchase a pressure canner. You can use your pressure canner as a water bath canner but you can’t use a boiling water canner as a pressure canner.
Pressure Canners
There are many different types of pressure canners on the market now. Be sure you purchase a pressure CANNER not a pressure COOKER. Most pressure cookers aren’t large enough to properly can jars of food.
I have an older style of the Presto Pressure Canner and it has served me well for many years. However, I know several people that use an All American Pressure Canner and love it.
It has great reviews on Amazon. However, the price is quite a bit more than the Presto canner. If you know you will be canning for years and years, it might be worth the investment. Only you can decide.
Other Canning and Preserving Supplies
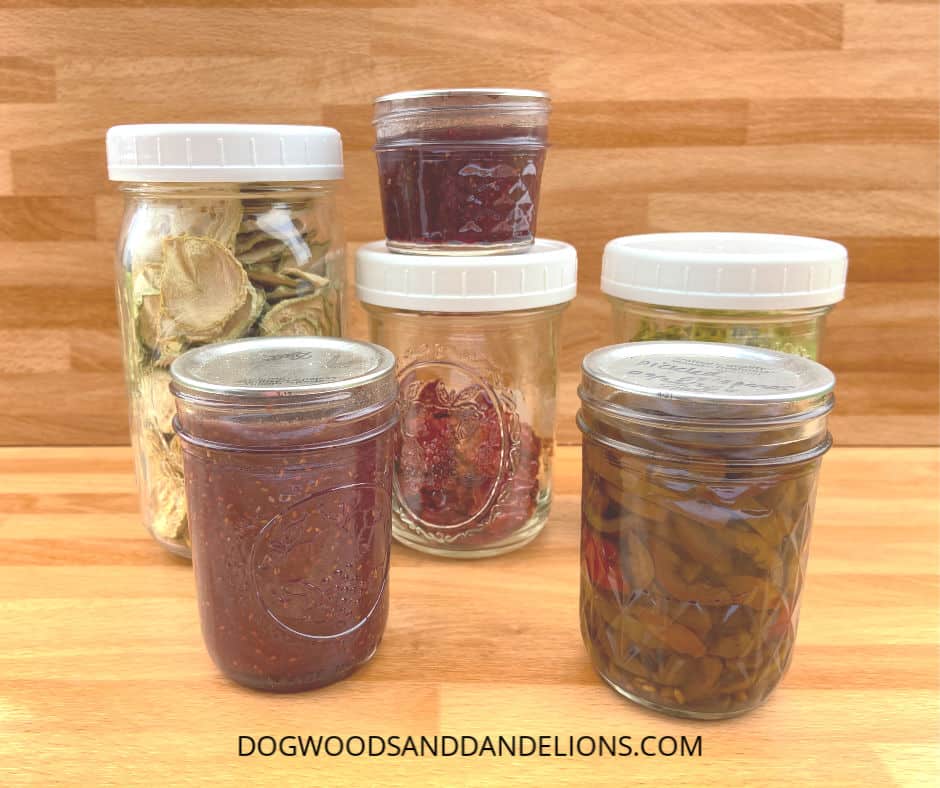
Canning Jars
Once you start canning, you need other supplies besides just a canner. First, you need jars to actually put the food in. I only recommend using jars purchased specifically for canning.
Re-using jars from purchased food at the store can result in broken jars as they aren’t necessarily as sturdy as canning jars purchased for home canning. Also, it may be hard to determine the size of the jar so you may over or under process the food.
There are quite a few jar sizes to choose from. Choosing the correct jar size will depend on the size of your family and the recipe you are using. Typically jams and jellies are canned in either 4 oz. jars, 8 oz. jars (also known as jelly jars), or 16 oz. jars (pint jars) while most other items are preserved in pint or quart jars.
I tend to use either Ball, Kerr, or Golden Harvest brand jars because that is what my Mom always used. I do recommend shopping around for the best prices.
You can usually find canning jars at Walmart and Target and many home improvement stores. Local hardware stores usually carry canning jars as well.
Canning Lids & Rings
You will also need canning lids. Every time you process a jar of food, you must use a new lid for each jar. You can not re-use the lids unless you have purchased the newer kind specifically for using again and again. (I have never used the re-useable ones but would like to give them a try soon.)
Be sure you purchase the right size for your jar. Some jars come in regular mouth and wide mouth versions so check your jars before buying lids.
Just as with canning lids, you need canning rings. The rings also come in regular mouth and wide mouth. However, the rings can be reused again and again as long as they aren’t bent or rusted.
The first time you purchase jars, they usually come with one lid and one ring. While I have to buy new lids every year, I have never had to buy new rings. Inspect the rings carefully each year and throw away any that are rusted or dented and the rest should work just fine.
Helpful Canning Tools
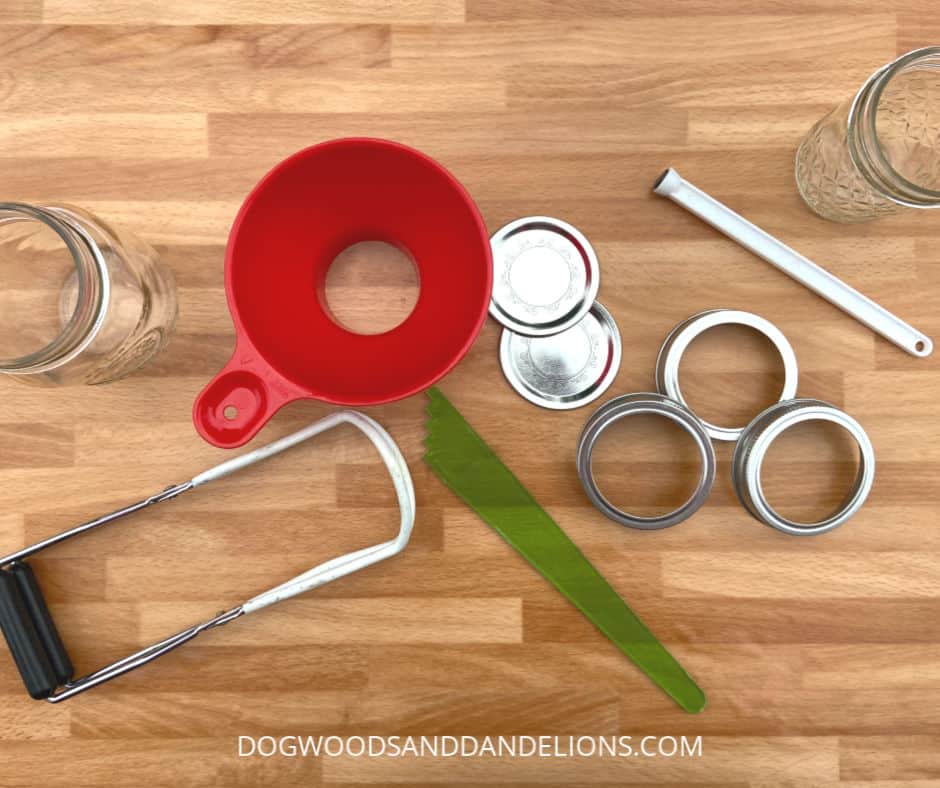
While most of these tools aren’t necessary, they will make your canning process much easier. I have all these tools and wouldn’t want to can without them.
- Canning funnel – These funnels have a larger opening at the bottom that fits inside a Mason jar. It’s much easier to put food into the jars with a canning funnel. They come in both metal and plastic.
- Jar lifter – You need a way to get the hot jars into and out of the canner. This jar lifter is coated so that it will grip the jar as you move it to and from the canner.
- Lid wand – A lid wand has a magnetic tip on the end that makes it easy to pick up a canning lid from the hot water.
- Bubble freer – This little tool will help you free bubbles that get trapped inside the jar when you fill them. It will allow you to check your headspace. Don’t pay this price though. Look for it locally. But I wanted to share a link so you know what to look for!
- Labels – While labels are definitely not a necessity, (You can just write on the top of the lids.) cute labels sure do make your canned goods look much neater on the pantry shelves.
- You can also find many of these supplies packaged together and labeled as a canning starter kit.
Dehydrators
Canning and freezing aren’t the only way to preserve food. Dehydrating is another great method that is often overlooked. I love dehydrating produce since this method produces shelf stable food. As an added bonus, dehydrating food takes less space on the pantry shelf since all the water has been removed.
This Nesco dehydrator is the one I have and has worked well for me. I have used mine for 10 years. It is generally less expensive than the Excalibur and is perfect for someone who isn’t sure that they will use it frequently.
The Excalibur dehydrator is considered the best dehydrator on the market. While I have never used one, it comes very highly recommended by many others I know. It is probably a good investment if you are planning on doing a lot of dehydrating. However, if you aren’t sure that you will do a lot, I would go with the Nesco. I have no complaints about mine.
If you plan on doing any dehydrating, I highly recommend purchasing The Ultimate Dehydrating Cookbook. This is the best dehydrator book on the market!
Not only does it tell you how to dehydrate your food, it gives you recipes for what to do WITH your dehydrated food. And most of the recipes are for common, everyday foods, not some strange food combinations you’ve never heard of.
Do you have any other canning and preserving supplies that you must have? Drop a comment below so I can check it out!
Related Posts
- The Best Canning & Preserving Books
- How to Roast Red Peppers when you don’t have a gas oven or grill.
- The super easy way to freeze tomatoes.

Meet Julie
I’m a farm girl born and bred in North Carolina. I’ve been growing a vegetable garden for over 20 years (and helping my Mom grow hers even longer). I’ve been raising chickens in my bathtub and backyard for 12+ years. I believe that homegrown food can be made simple. Let’s get started.